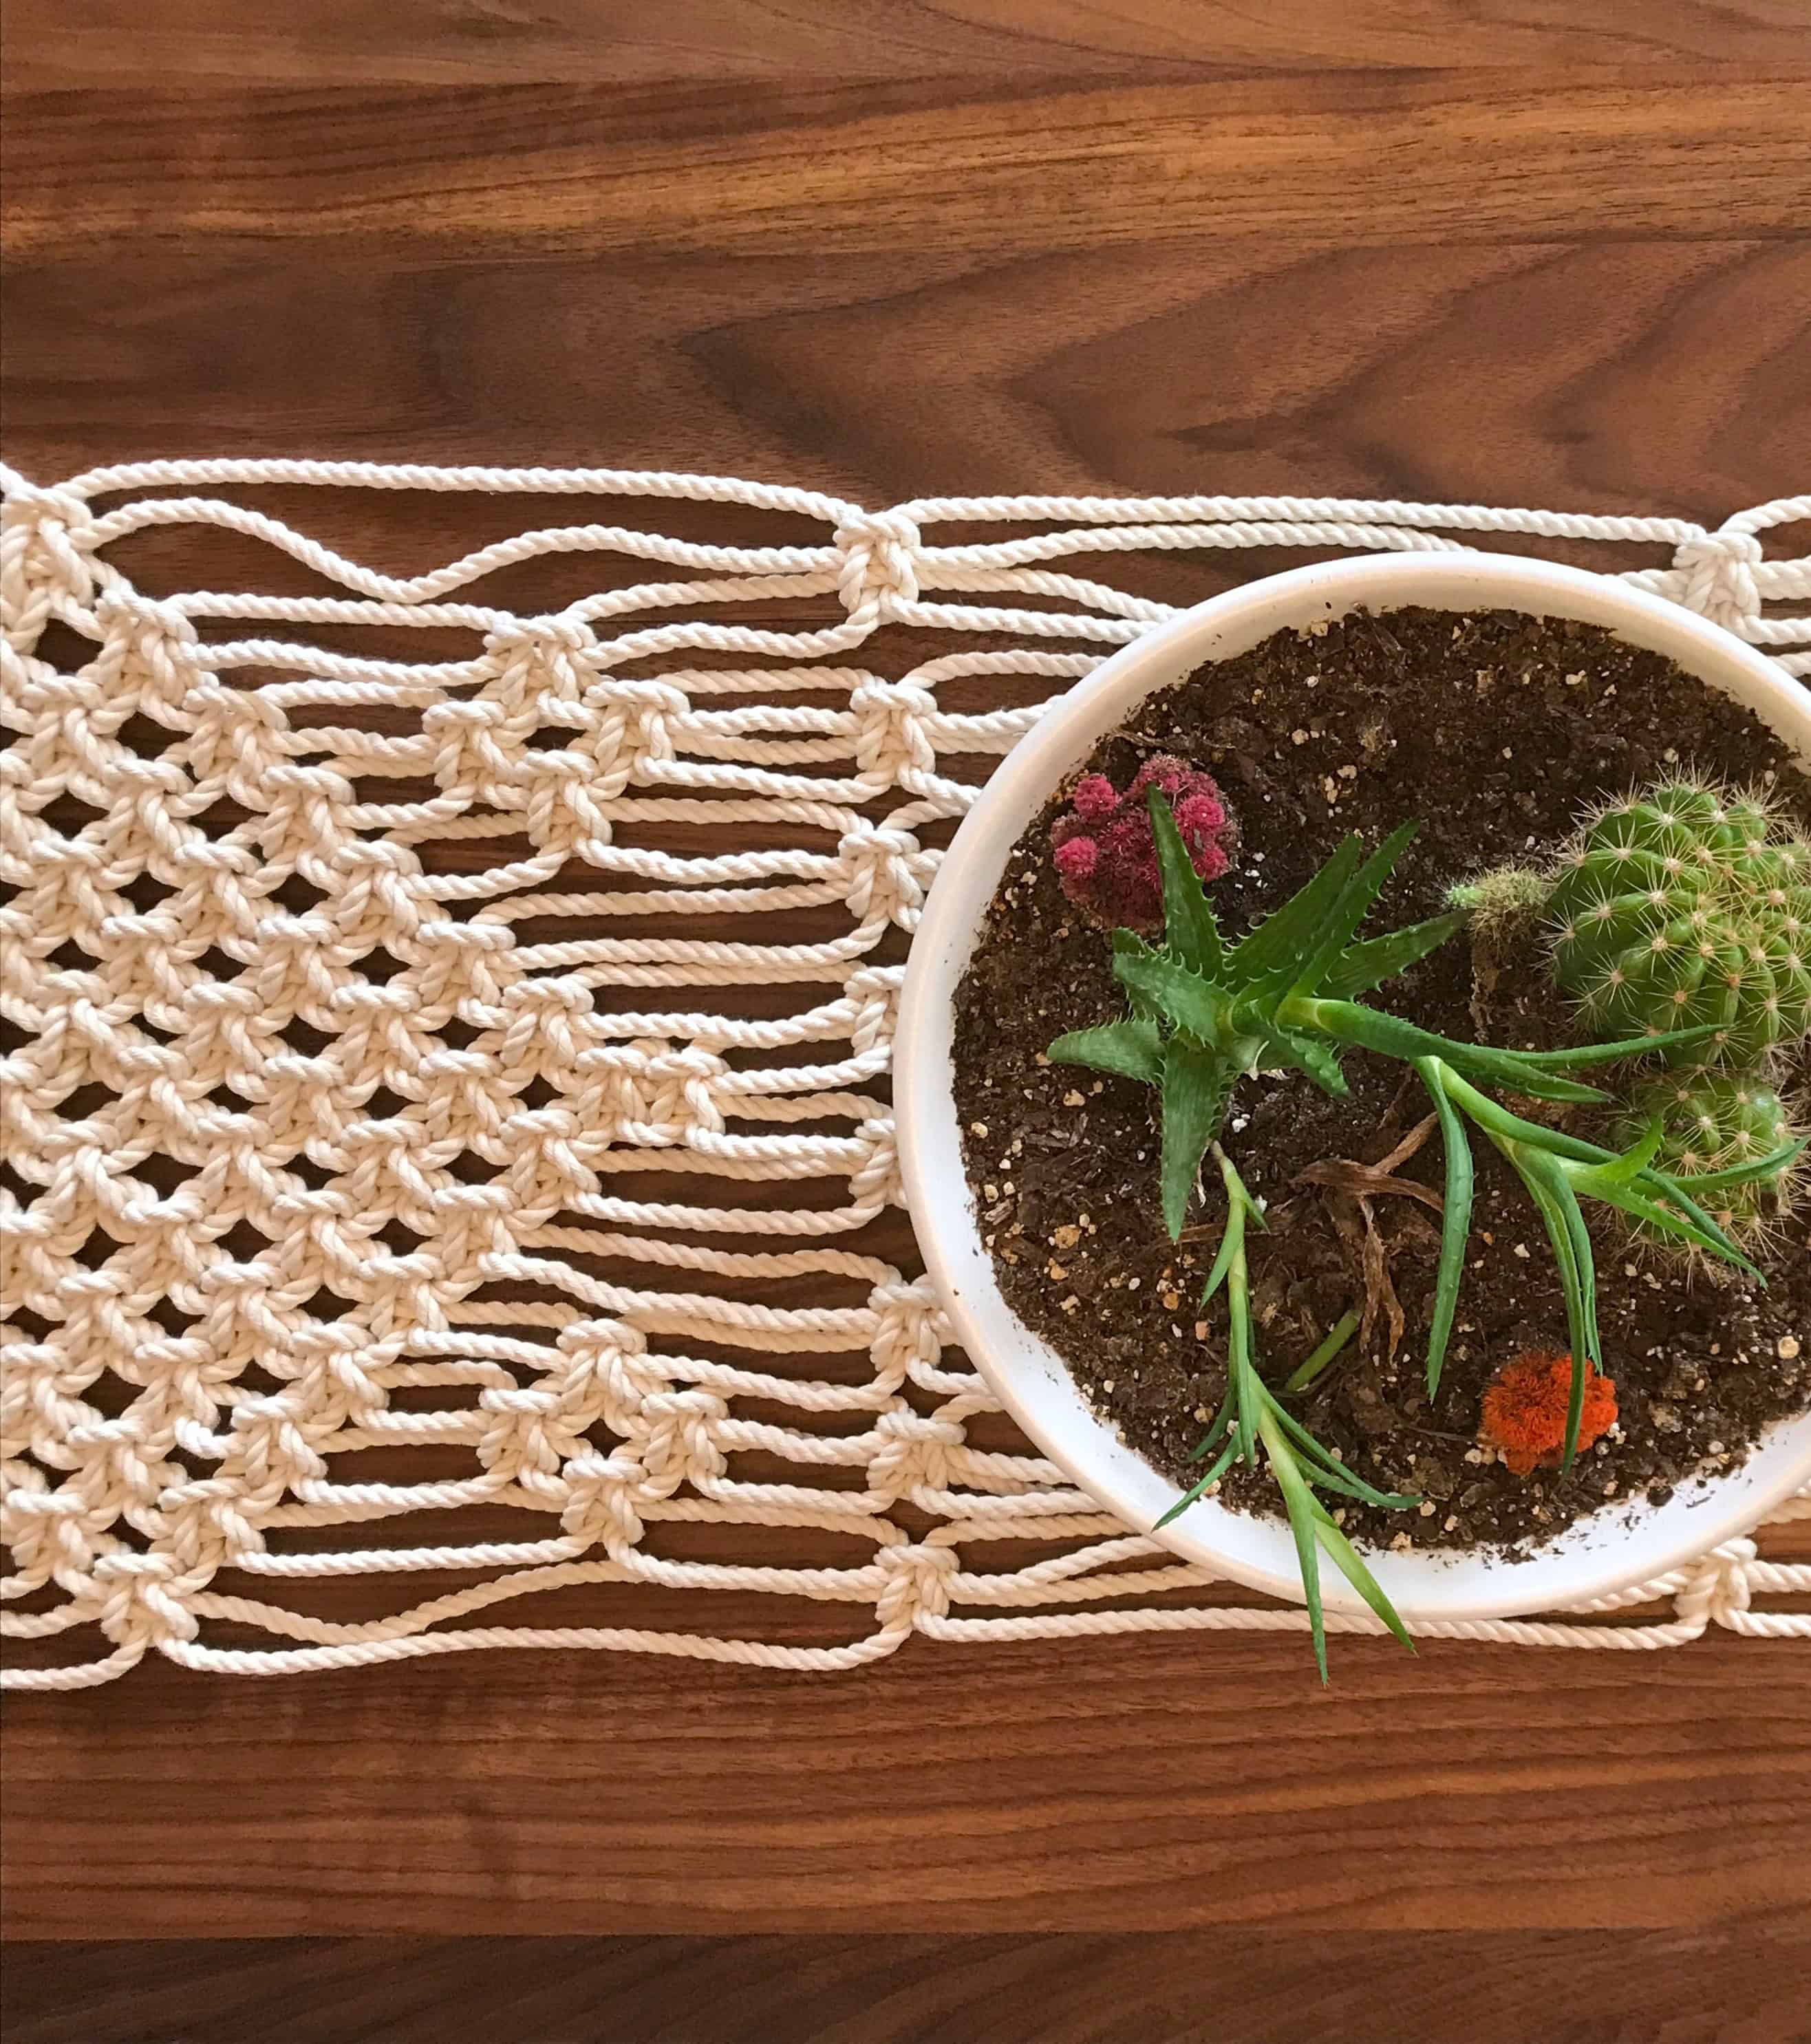
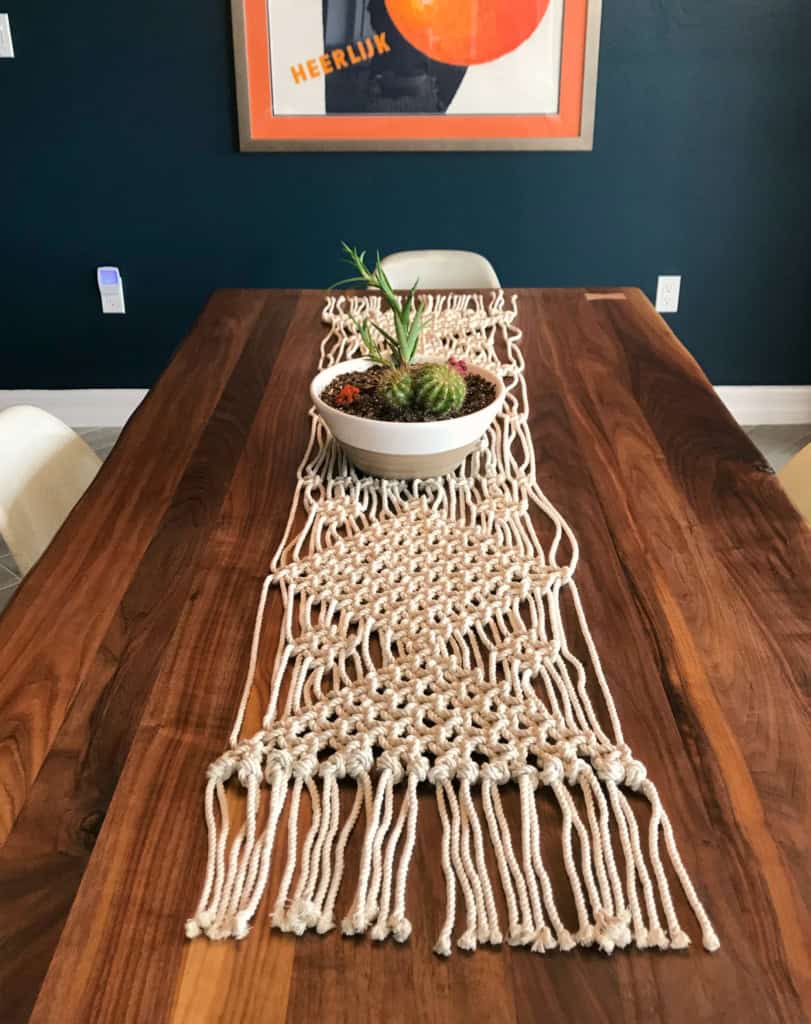
I’m so excited about my latest DIY project – a beautiful little macrame table runner! Although I’ve seen some more intricate ones that I just adore, I decided to keep this project simple. I used only one knot (the square knot) for the entire runner! Nonetheless, it’s something very sweet and delicate about this runner. I’m really digging it and think you will, too.
(Affiliate links included for your convenience. As an Amazon associate I earn from qualifying purchases. See disclosure here.)
supplies needed
- 389 feet of 3/16″ cotton rope
- masking or painter’s tape
- scissors
preparation
Cut 32 pieces of rope, each measuring 12 feet. Wrap a small piece of tape around both ends of each pieces of rope, to prevent fraying. Next, tie pieces of rope together (as shown in photo below), with the knot about 10 inches from the rope ends.
Do this for all the pieces of rope, so you will end up with 16 knotted pieces. Lay them evenly on a flat surface and tape the ends down to keep steady.
step 1 – half diamond
To begin your design, using the first 4 individual cords on the left, make a Square Knot. Continue until you have a row of 8 Square Knots.
Next, beginning with the 3rd cord from the left, make a row of 7 alternating square knots.
You have now finished the first 2 rows. Follow the instructions below for rows 3 through 8.
- row 3: starting with 5th individual cord from the left – 6K (6 Square Knots)
- row 4: starting with 7th individual cord from the left – 5K
- row 5: starting with 9th individual cord from the left – 4K
- row 6: starting with 11th individual cord from the left – 3K
- row 7: starting with 13th individual cord from the left – 2K
- row 8: starting with 15th individual cord from the left – 1K
step 2 – small side diamonds
You have now completed the first half diamond design. Before continuing with a center diamond, you need to add 2 small diamond shapes to the sides (as shown below).
For the small diamond on the right side, starting with the 5th individual cord from the right, make a Square Knot. Beneath that knot, starting with the 3rd individual cord from the right, make two Square Knots. Again, beneath those 2 knots, starting with the 5th cord from the right, make a final Square Knot. You have now created a small diamond design. Repeat this procedure for the left side.
step 3 – full diamond
The next step is to create a full diamond design, as shown below.
This diamond consists of 15 rows. Follow the instructions below.
- row 1: starting with 15th individual cord from the left – make one Square Knot (You can see that this knot is directly beneath the last knot on the previous half diamond design.
- row 2: starting with 13th individual cord from the left – 2K
- row 3: starting with 11th individual cord from the left – 3K
- row 4: starting with 9th individual cord from the left – 4K
- row 5: starting with 7th individual cord from the left – 5K
- row 6: starting with 5th individual cord from the left – 6K
- row 7: starting with 3rd individual cord from the left – 7K
- row 8: starting with 1st individual cord from the left – 8K
- row 9: starting with 3rd individual cord from the left – 7K
- row 10: starting with 5th individual cord from the left – 6K
- row 11: starting with 7th individual cord from the left – 5K
- row 12: starting with 9th individual cord from the left – 4K
- row 13: starting with 11th individual cord from the left – 3K
- row 14: starting with 13th individual cord from the left – 2K
- row 15: starting with 15th individual cord from the left – make one Square Knot
Once this diamond is completed, add an extra Square Knot just below the center knot in row 15.
step 4 – small side diamonds
Follow step 2 to add two more small diamonds on the sides.
step 5 – center of runner
About 2″ down from the bottom of the full diamond, make a row of Square Knots. (Starting with the 1st individual cord on the left, make 8 Square Knots.
Next, skip down about 4″ from the last row of Square Knots. Starting with the 7th individual cord from the left, make a Square Knot – skip 4 cords – make a Square Knot – skip 4 cords – make a Square Knot – skip the last 6 cords.
About 4″ down from the last row, make a row of Square Knots. (Starting with the 1st individual cord on the left, make 8 Square Knots.
You have now completed the first part of the runner as well as the center (see photo below).
step 6 – finishing
In order to complete the runner, you will simply be re-creating the pattern in the first section of the runner (before the center part). Follow along with these instructions in order to do this:
The next task is to once again create two small diamonds on the side. Skip down about 2″ from the last row, and follow instructions in step 2 to create the 2 small diamonds.
Now you will create another full diamond shape, with your first knot (or top of the diamond) falling in the center of the top of the 2 small diamonds. Follow the instructions in step 3 to create this full diamond design.
Once again, create two small diamonds on the side. Follow instructions in step 2 to create the 2 small diamonds.
Finally, you will create a half diamond design:
- row 1: starting with 15th individual cord from the left – make one Square Knot
- row 2: starting with 13th individual cord from the left – 2K
- row 3: starting with 11th individual cord from the left – 3K
- row 4: starting with 9th individual cord from the left – 4K
- row 5: starting with 7th individual cord from the left – 5K
- row 6: starting with 5th individual cord from the left – 6K
- row 7: starting with 3rd individual cord from the left – 7K
- row 8: starting with 1st individual cord from the left – 8K
Yay! You’re almost done. Now for the finishing details.
Directly beneath your last row of Square Knots, starting with the first 2 cords on the left, tie a regular knot. Continue tying knots until you have 16 secure knots.
Now trim the loose tassels on both ends of the runner. I trimmed mine evenly across to leave 6″ long tassels. The finished size of this runner is 14″ wide x 66″ long. Was I right? Aren’t you just digging it too?
Need to save this for later?


Need pattern for 8 ft. Table runner.
Hola; Quiero hacer el camino de mesa porque esta hermoso, tengo una mesa que mide 59″ de largo como puedo convertilo a ese size. gracias
I am currently making this table runner. I have finished the second full diamond and now my center cords are two short to go any further?? I’ve rechecked and I’ve followed the instructions. Any insight please?
Unfortunately, I’m just as confused as you are. The pattern doesn’t include any half hitch knots, which are usually the culprits when just one or two cords fall shorter than the rest. I honestly don’t know. Sorry!
I made this table runner in a day (many interruptions). It turned out great. I love it.
awesome! would love to see a pic!
I made this today…most of the day. Many interruptions but was determined to finish it in on day!
I love it on my dark wood table. Thank you for all of your wonderful macrame tutorials.
Beautiful. I missed macrame. I have been looking for patterns. Your work is gorgeous. How long is each piece. I want to make the table runner but need to know length.
This runner measures 66″ long finished. I began with 32 pieces of rope, each measuring 12 feet. Hope this helps.
What is the width of the table runner once completed?
I don’t have access to the runner right now, but I believe it is about 12 inches in width.
I’m a macrame’ lover and this table runner is great! Very, very pretty. Thank you for sharing with us on Party in Your PJ’s. I’ve pinned to my macrame’ board.
awe… thanks!
I did macrame years ago. Thanks for the inspiration to try again. Wish I had kept my pattern books.
Thanks! Yes those books would b great resources
Excelente!!!. Thanks
Thank you!
This is beautiful, and such detailed instructions too.
Thanks Julie!
Beautiful! And you make it look so easy!
Thank you!
Beautifully explained! I’d love to give it try.
Amalia
xo
Go for it!
I want to make curtains. It’s been years since I’ve done this. Can you find books anywhere?