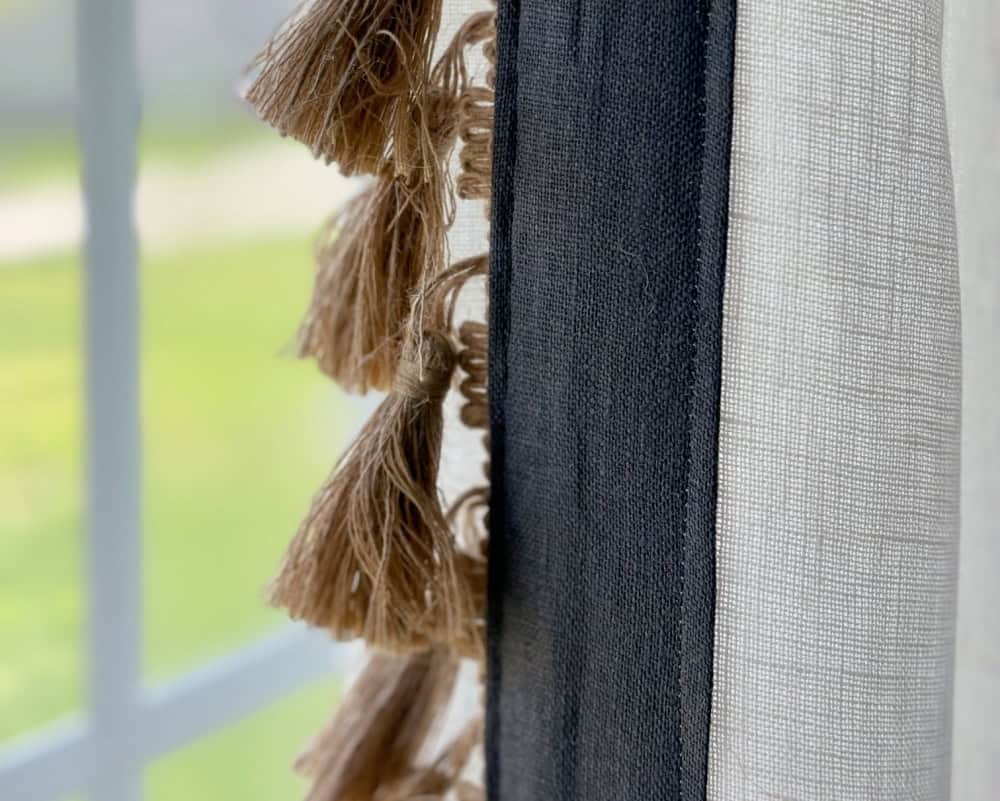
If you are looking for ready-made white linen drapes to give your room a fresh, modern look, I’ve got you covered. And I’ve just saved you days of shopping and googling. We recently bought a country/lake house that, although newly built, emits definite old world vibes. Its exposed ceiling beams and iron scrolled doors feel very Spanish, so what better way to compliment this rustic look than with crisp, white linen drapes flowing from black iron drapery poles. My solution? I decided to upgrade Ikea curtains for the custom look I wanted.
I didn’t want to spend a fortune on ready-made drapes, yet I wanted a nice quality linen. After an exhaustive search, I decided on the Ikea Dytag curtains. These bright white, light-filtering curtains allow subtle sunlight to flood the room while still offering privacy. They are 100% linen, not a cheap synthetic blend. And they are AFFORDABLE.
(This post may contain affiliate links; as an Amazon associate I earn from qualifying purchases. See disclosure here.)
supplies needed:
- 2 Ikea Dytag drapery panels (white)
- 1 Ikea Dytag drapery panel (dark gray)
- jute tassel trim
step 1 – create a border
The easiest way to upgrade Ikea curtains is to add custom passementeries to the sides. Alright, so that’s the French word for fancy trim, but I swear that’s how beautiful these drapes will look when finished. Begin with a pair of Ikea Dytag drapery panels in white. One extra Dytag panel in dark gray is needed for the contrasting linen border.
Place the white curtains aside for now. From the dark gray panel, cut a strip that is the entire length of the panel and approximately 6″ in width. Now cut the same strip in half lengthwise to create two strips, each measuring 3″ in length.
Take one strip and fold the edges inward so the finished width of the border measures 1 1/2″ wide. Press. Repeat for the second strip.
step 2 – attach to curtain
Place the jute trim along the inside front edge of one curtain panel (A). Then place the linen border on top of the trim, as shown below (B), and pin in place.
Stitch the border and trim into place, as shown below.
Next stitch down the other side of the border.
Attach the second border and trim to the inside edge of the second panel in the same fashion. And that’s it. A very easy process to upgrade store-bought curtains into custom drapes!
The biggest compliment is a little share – please pin the photo below.


I have some curtains I have always wanted to do this to, but didn’t because I didn’t have a sewing machine. Now I have my mom’s old machine and this reminds me to put that project back on my list. Thanks for the reminder and a great tutorial. This post will be a feature this week. #HomeMattersParty
Thank you!
Such a great idea! Thanks for sharing.
Thanks Ana!