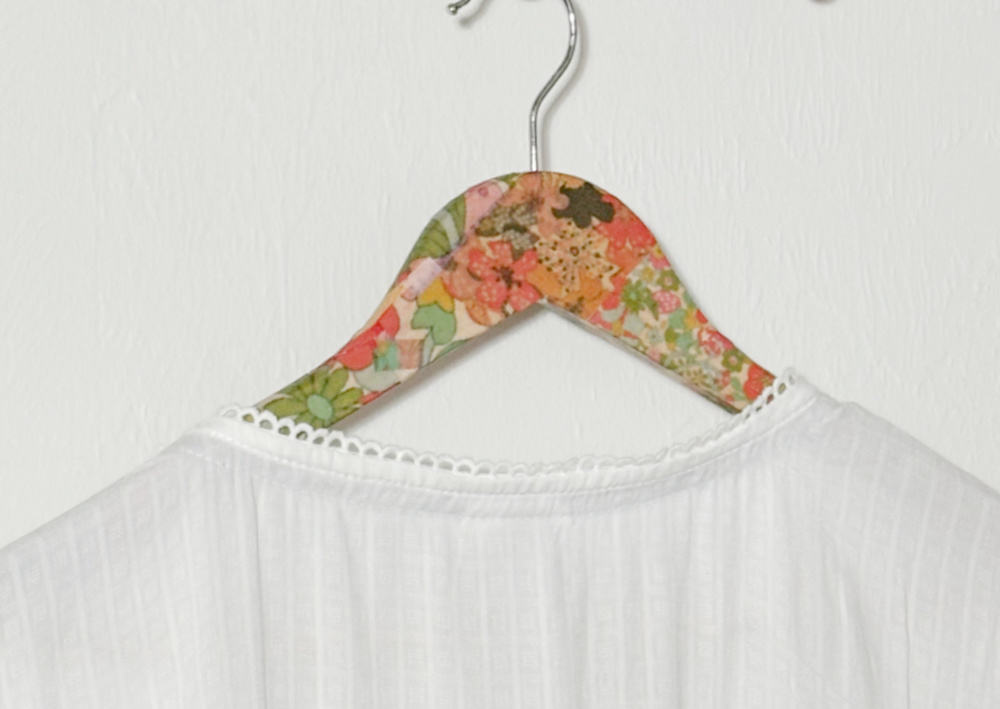
Who would have thought that a decoupaged wooden coat hanger could be so adorable? In a recent post, I shared how to create your own custom tissue paper, so now I’m showing you a wonderful project you can make with it. A decoupaged wooden coat hanger.
(This post may contain affiliate links; as an Amazon associate I earn from qualifying purchases. See disclosure here.)
supplies needed:
- tissue paper
- scissors
- Mod Podge
- wooden coat hanger (I found the best price for these at Home Depot)
step 1 – prepare tissue paper
Any decorative tissue paper will work, but if you want specific look and can’t find paper you love, see this post on how to make your own custom tissue paper. I wanted to replicate a design from my blog’s branded theme, so I printed my own.
Cut the tissue paper into small pieces that can be easily arranged on the coat hanger.
step 2 – apply paper to coat hanger
Apply a light coat of Mod Podge to a small section of the coat hanger. Arrange a small piece of tissue paper to the area, then apply a top coat of Mod Podge, smoothing out the paper as you go. Repeat this process until the coat hanger is fully covered. Let dry.
Once completely dry, you can apply a second light coat of Mod Podge for extra protection.
The biggest compliment is a little share – pin the photo below!


This hanger is adorable. I love color wherever I can find it and have never seen brightly colors coathangers. How pretty to have in a coat closet for guests’ coats or in the guest bedroom especially!
Thanks so much!
Oh so pretty! Who would want boring plain hangers when they could have pretty ones like this?
Love your hanger. I am hoping to make some soon. I have bought some white hangers from IKea
That’s a great idea – white hangers!