
I’m planning a baby shower for my daughter-in-law, and I’ve been tossing around ideas and themes. After two grandsons, I am finally getting my girl. I’m so excited. Like really, deeply, loitering-in-the-baby-girl-aisles-for-hours EXCITED. So I decided to go with a sweet orange and pink boho theme. And what does every free-spirited boho gathering need? A fabric scrap garland.
I have lots more ideas for the shower, which I will post later. But for now, here’s an easy tutorial for making a fabric scrap garland.
(Affiliate links included for your convenience. As an Amazon associate I earn from qualifying purchases. See disclosure here.)
supplies needed:
- fabric scraps
- scissors
- twine
- any other embellishments you want to add
step 1 – cut the fabric
Before you buy any new fabric for this project, check your stash at home. As much as I love fabric shopping, I checked my sewing stash and came across some beautiful, playful cotton prints in the orange and pink color scheme I had in mind.
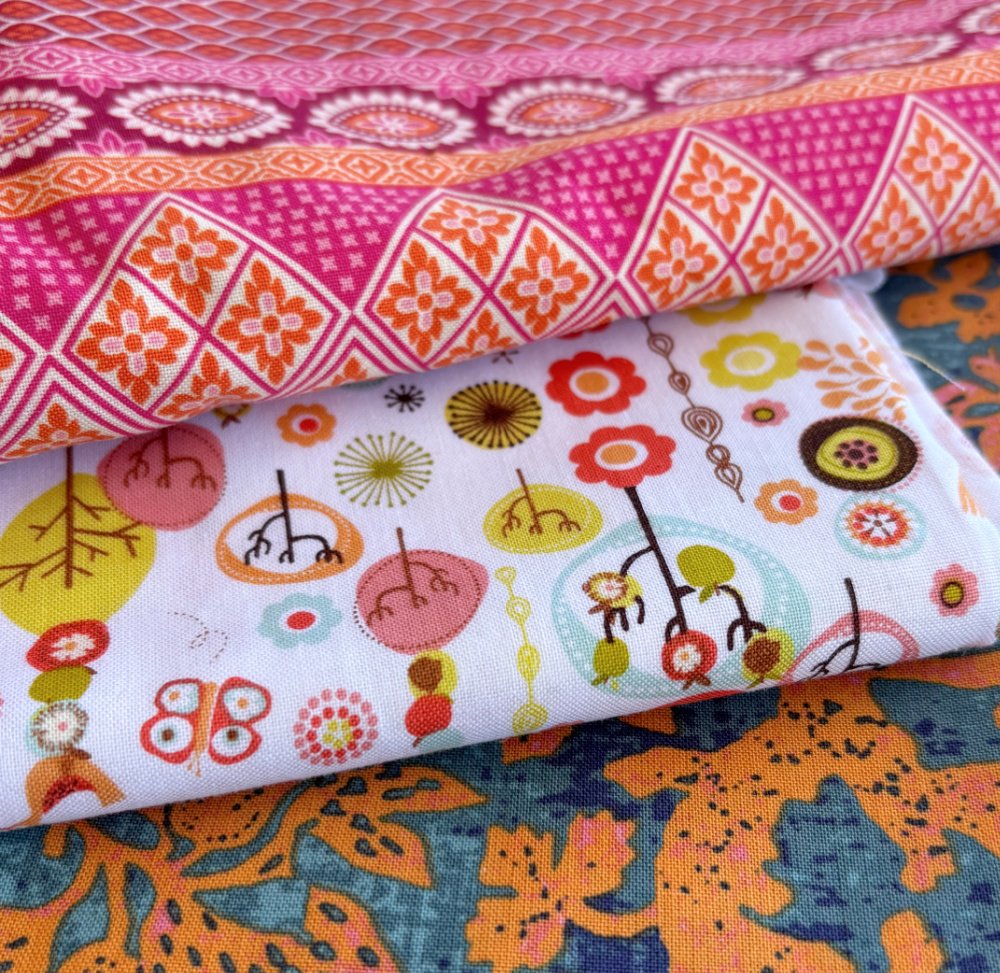
Once you select your fabric, cut strips that are approximately 3-4″ wide and at least 24″ in length. For a more natural look, I like to rip the strips by hand so they have a frayed edge.
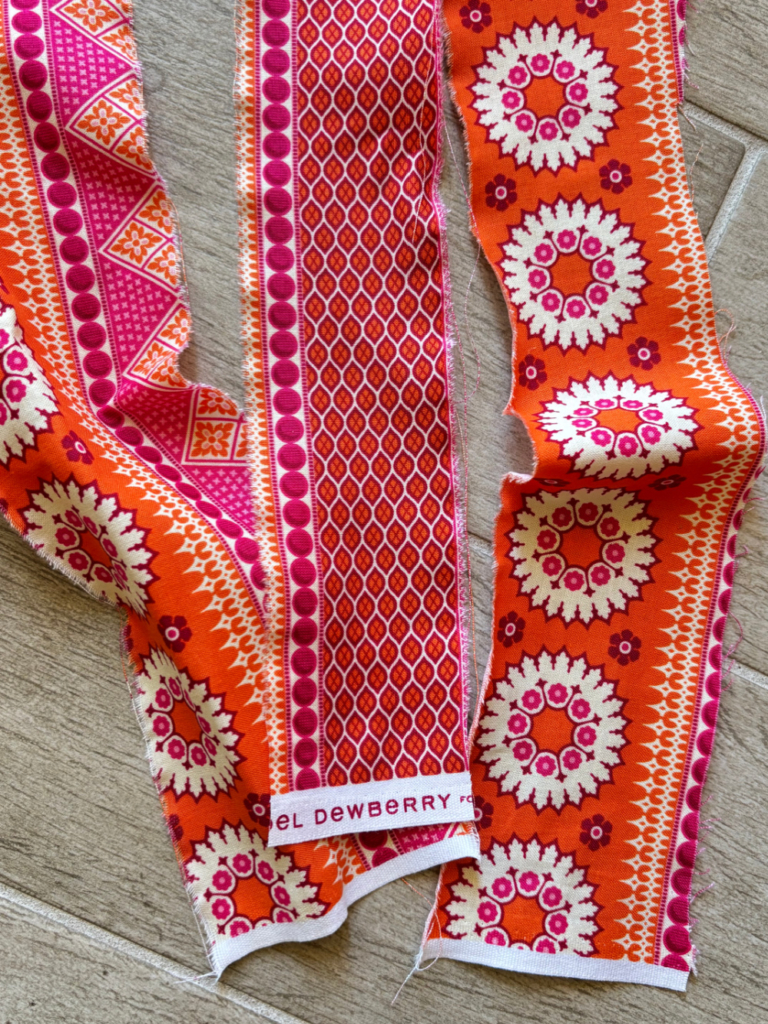
Once the strips are cut, remove any loose strings from them and trim the ends.
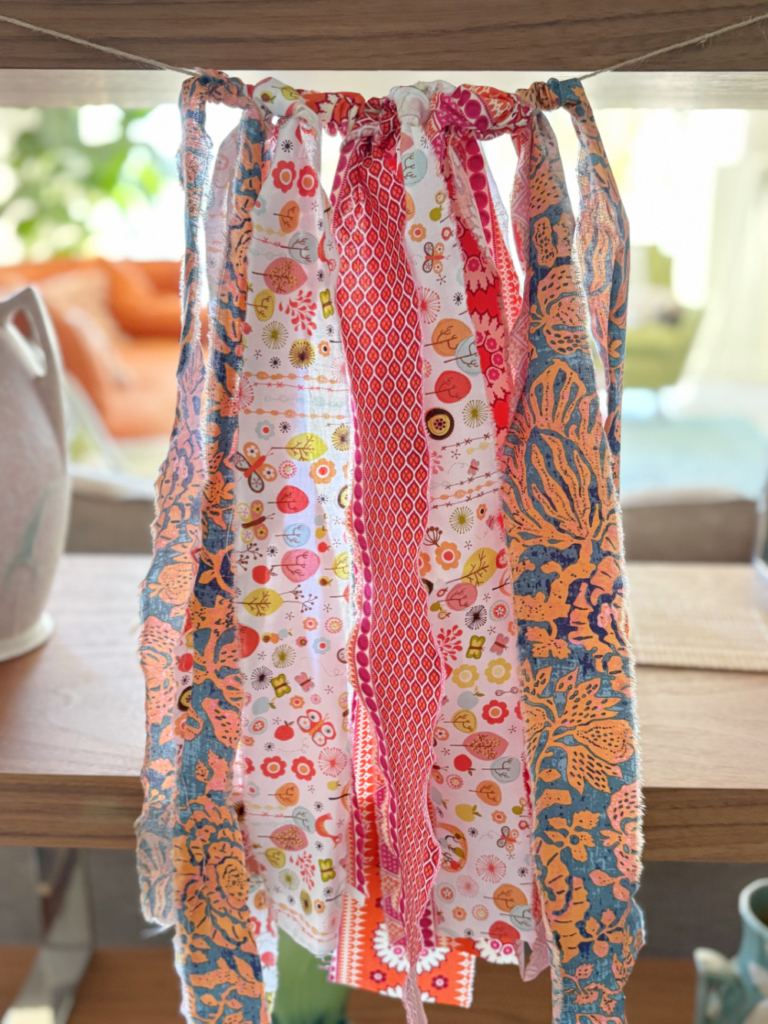
step 2 – attach strips to twine
Next, tie a long piece of twine or string from two objects to give you room to work. Tie each fabric strip onto the twine with a simple knot. When finished, push the strips closer together for a fuller look. Trim any extra long edges.

 step 3 – add embellishments
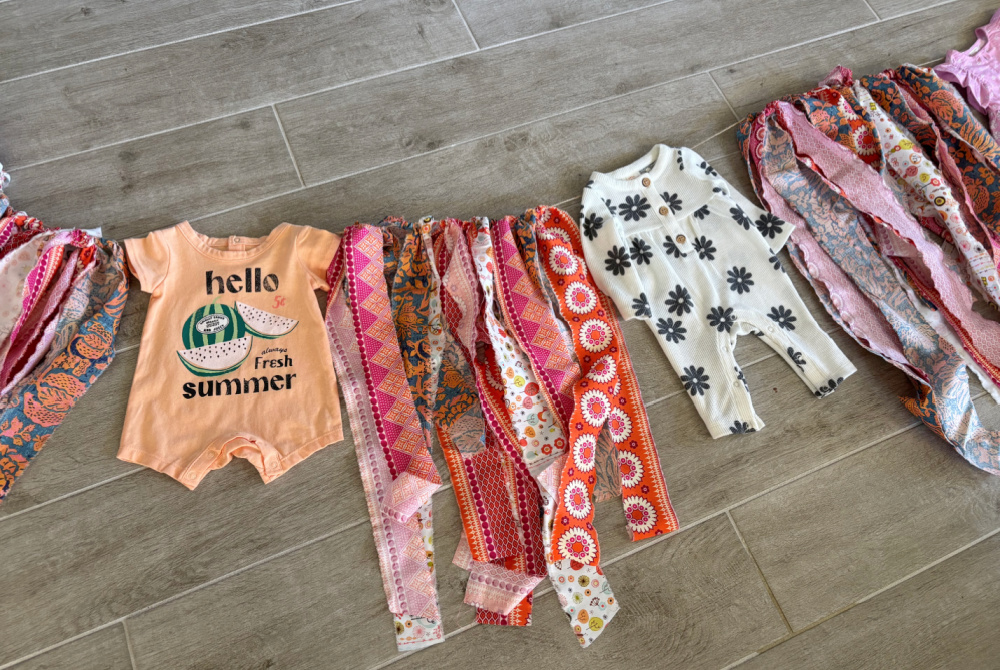
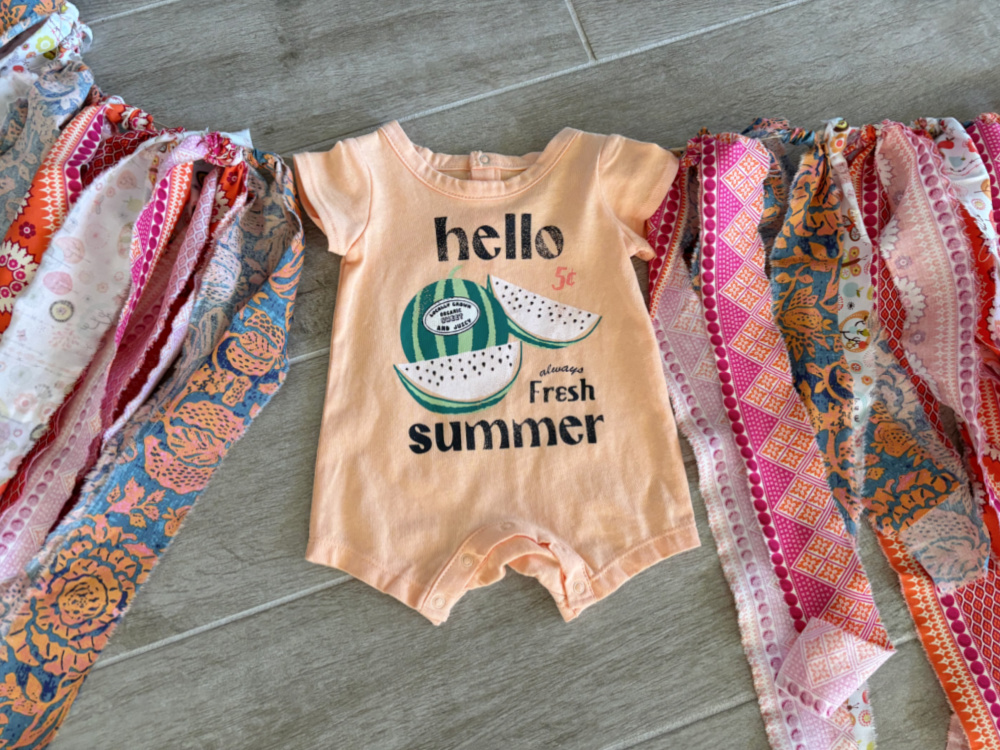
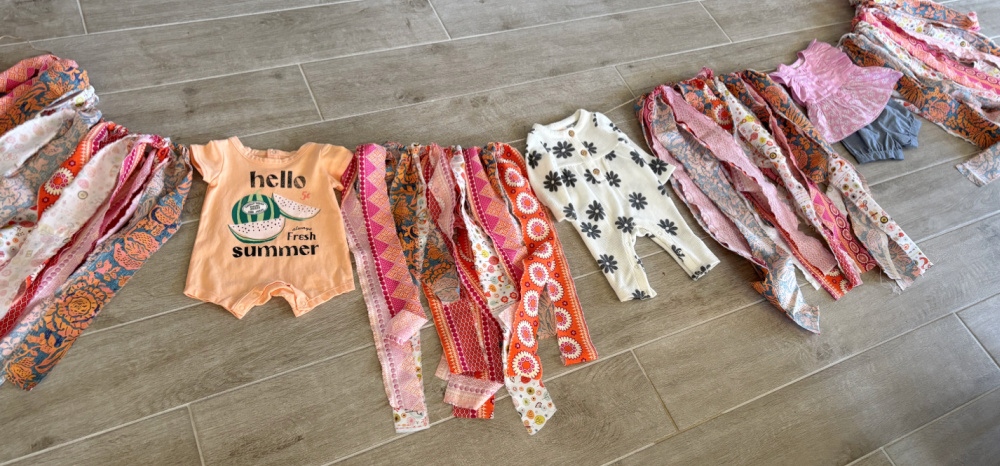
I decided to add an extra touch to my fabric garland – a few baby outfits. I don’t have any clothespins with me, so I just laid the bunting out on the floor and placed the outfits on it. You can get the effect, at least. Besides, I’ll be posting photos from the baby shower, so you can see how sweet this fabric scrap garland will look hanging over the picnic table!

The biggest compliment is a little share – pin the photo below!
![]()

Sweet idea for the baby shower. Congrats on the baby girl. I know the feeling. I have one son, three grandsons, three great nephews under one and our first great grandson is on the way. I do have a cousin that just had a premmie girl. Bring on the cute ideas.
Such a cute idea for baby shower decor, Wendy! Congrats on your feature at Morning Cup… We have missed you at Tuesday Turn About! We hope you’ll resume joining us each week! Hope to see you there!
Thanks!