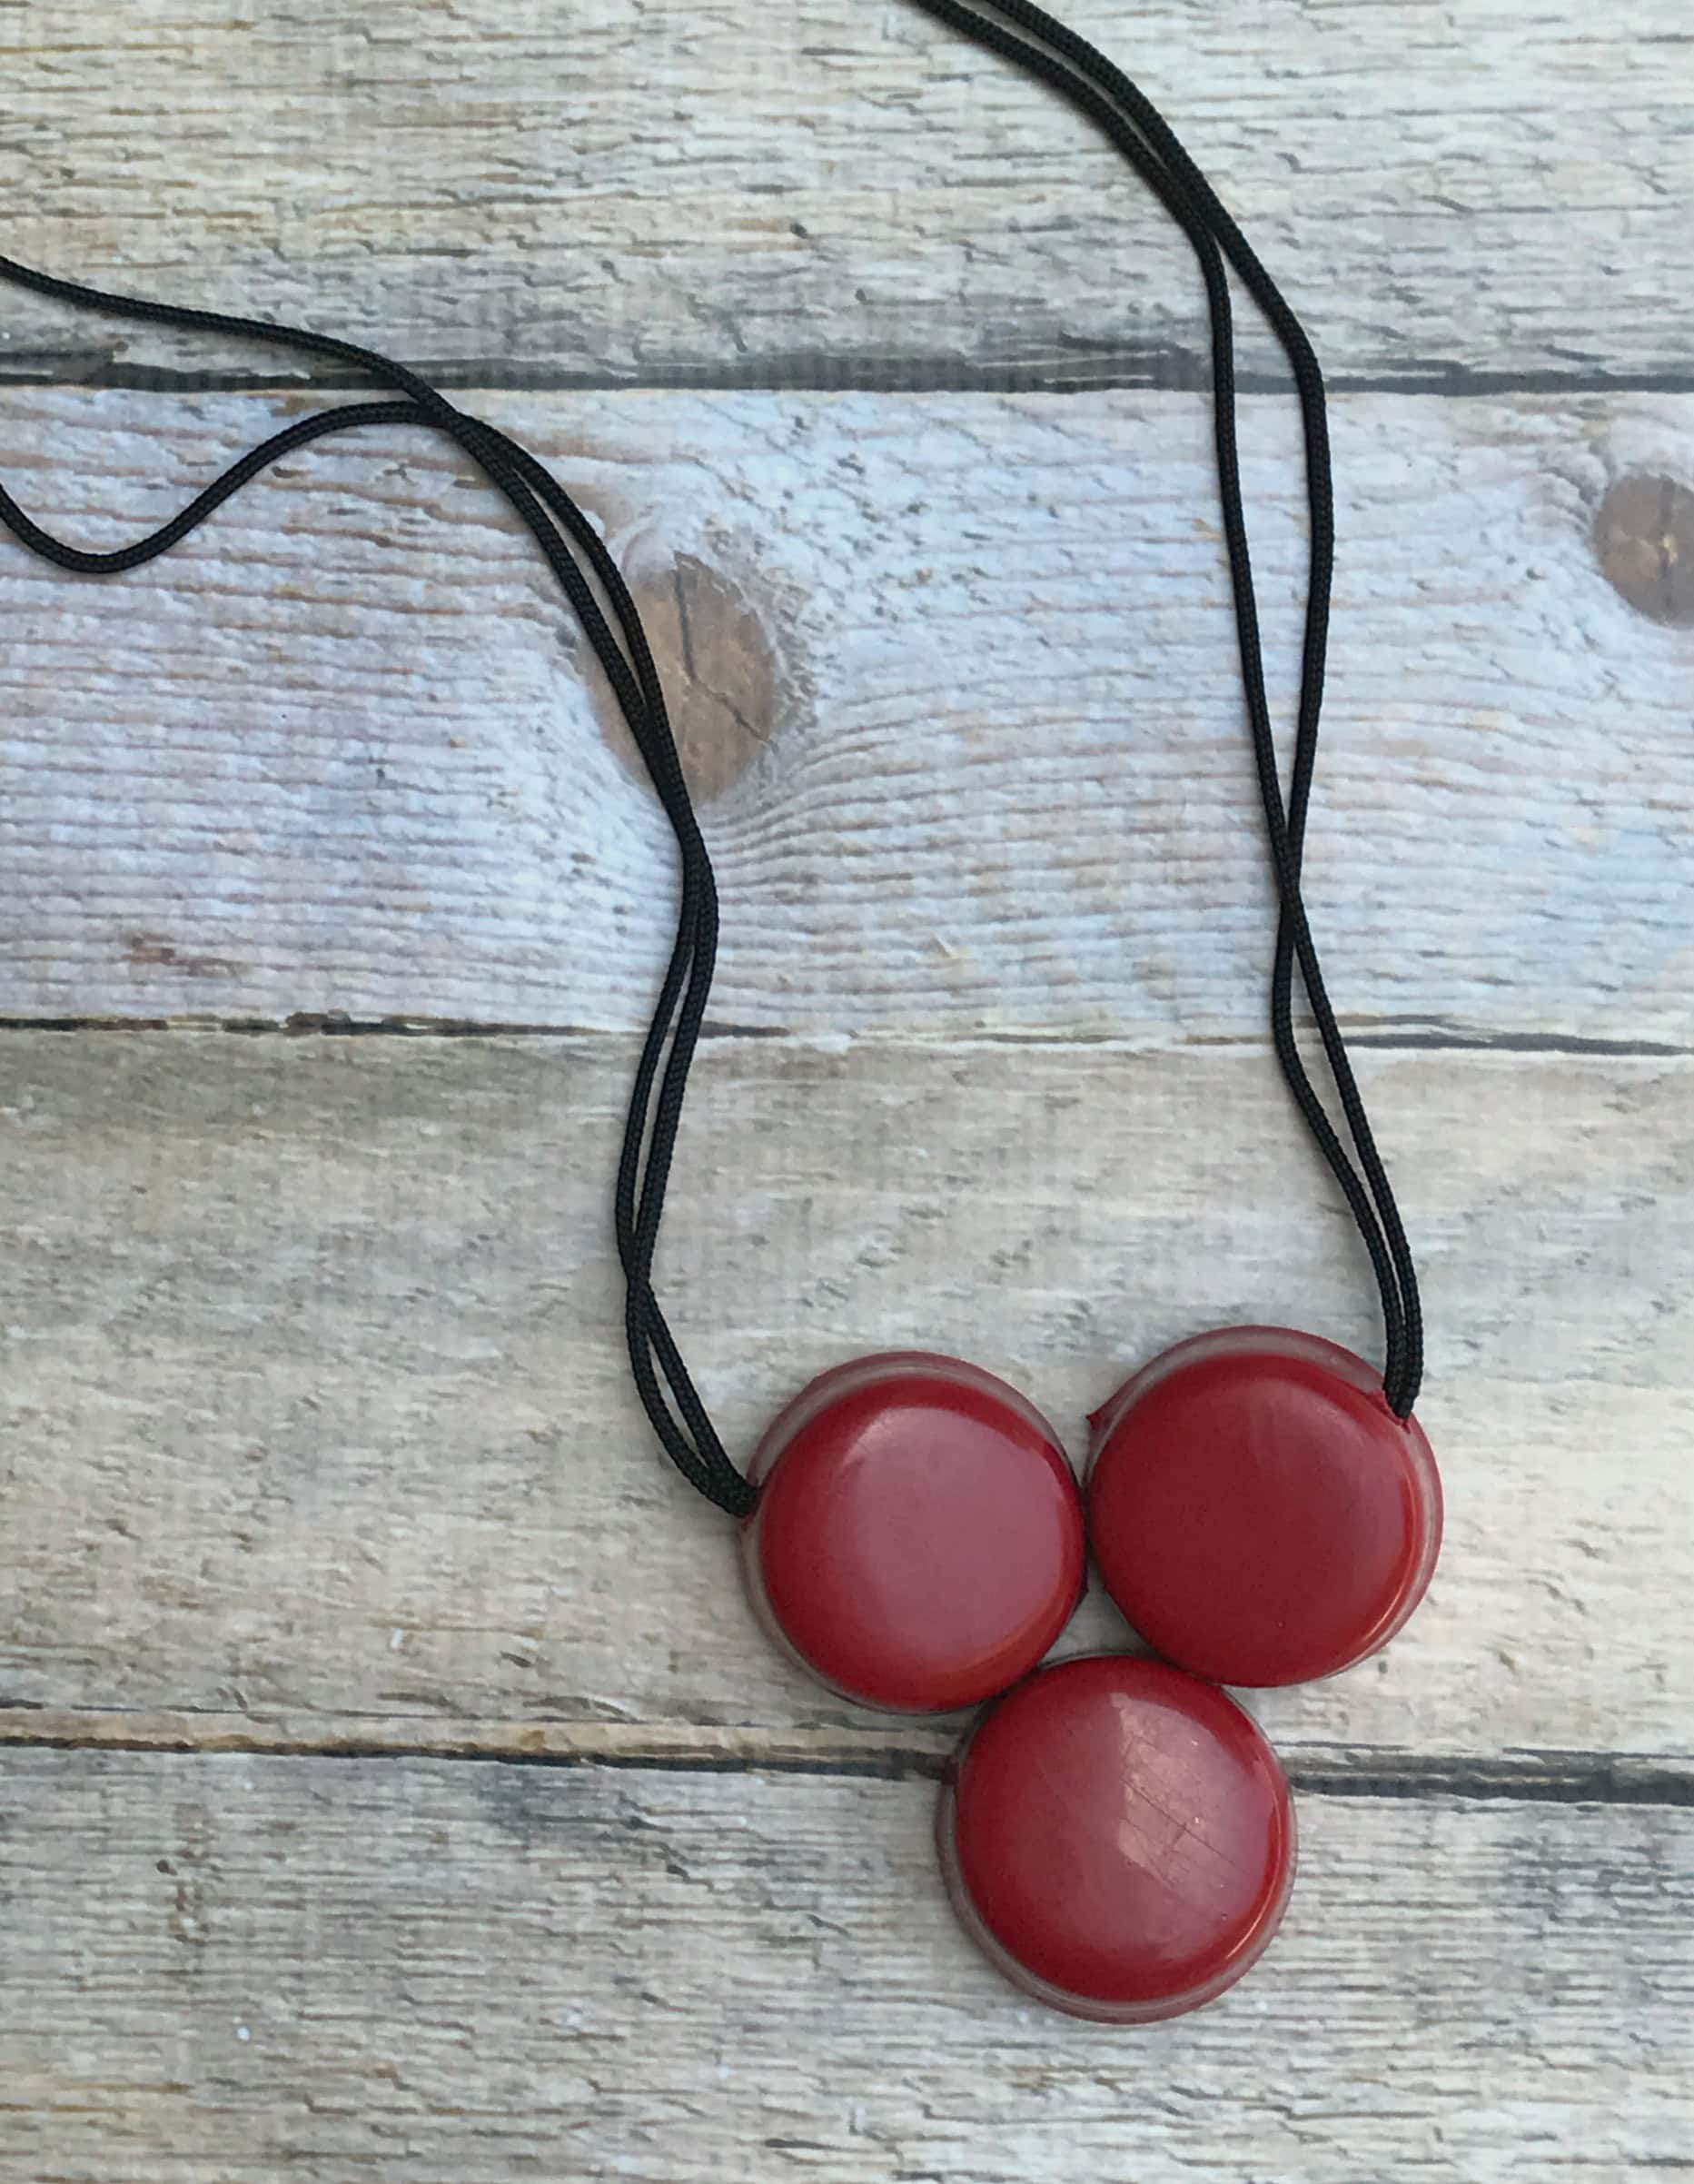
The ease of this craft is matched only by its whimsy. A Maker’s Mark bottle top necklace. And you need only one item to begin making this rockin’ little necklace.

No, I didn’t say drink it. Just save the bottle cap. (Actually, I like the bottles with the taller red caps for this project.) Oh, and you don’t need one. You need three (caps, that is).
Other supplies needed: black nylon jewelry cording, thin wire, and a drill.

step 1
Using a size 5/64 drill bit (just a tiny one, if you have to guess), make 2 holes about 3/4″ apart, in each of the 3 bottle caps.

step 2
Place the caps together as shown below and run a piece of wire through the holes to secure them. Pull the wire tightly then twist and secure the ends.


step 3
Make a large hole in the 2 places shown below, using a slightly larger drill bit. (large enough for the cord to thread through.)

step 4
Cut the nylon jewelry cord to your desired length and fold in half. Thread the 2 ends through the holes and knot.

And that’s it. Now you just need to arrange an outing with friends, so you can wear you Maker’s Mark bottle top necklace.

I actually helped my friend make this for her pal whose drink of choice is (you guessed it) Maker’s Mark.

Check out more jewelry projects here.


I just finished a craft show yesterday. This article is great, now I have a lot of ideas to make recycled jewelry. Thank you for your help!
You are so welcome! Thanks for stopping by.