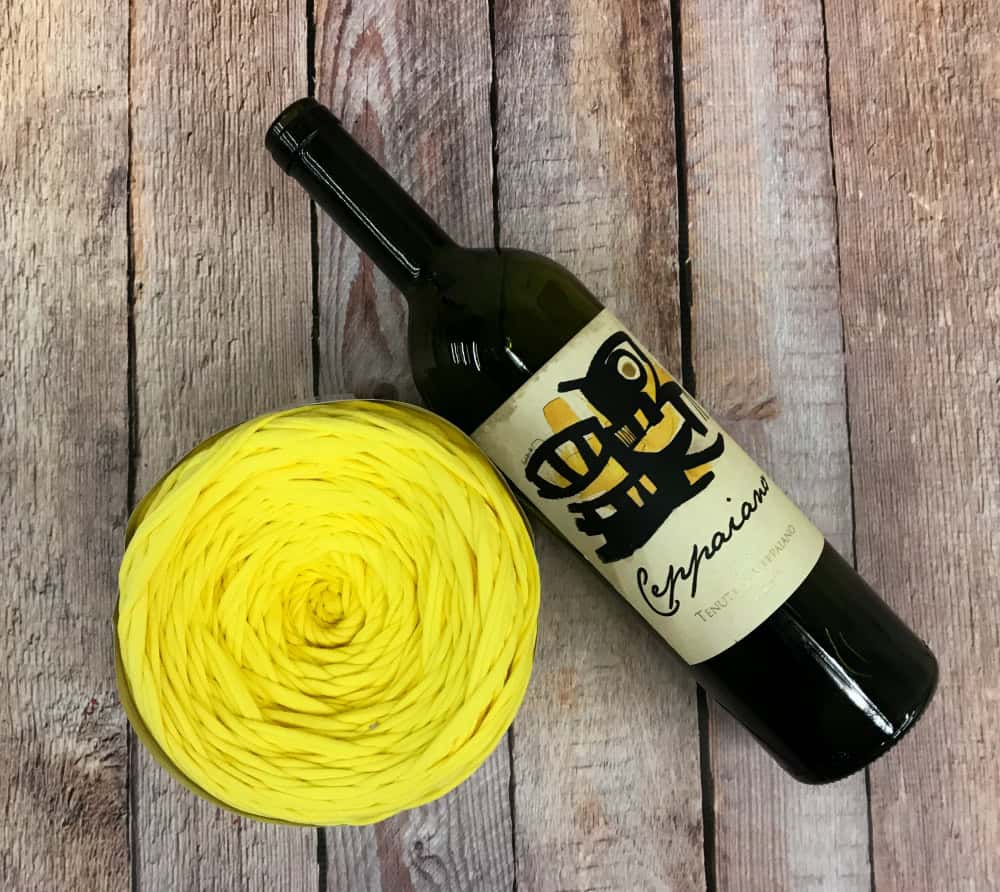
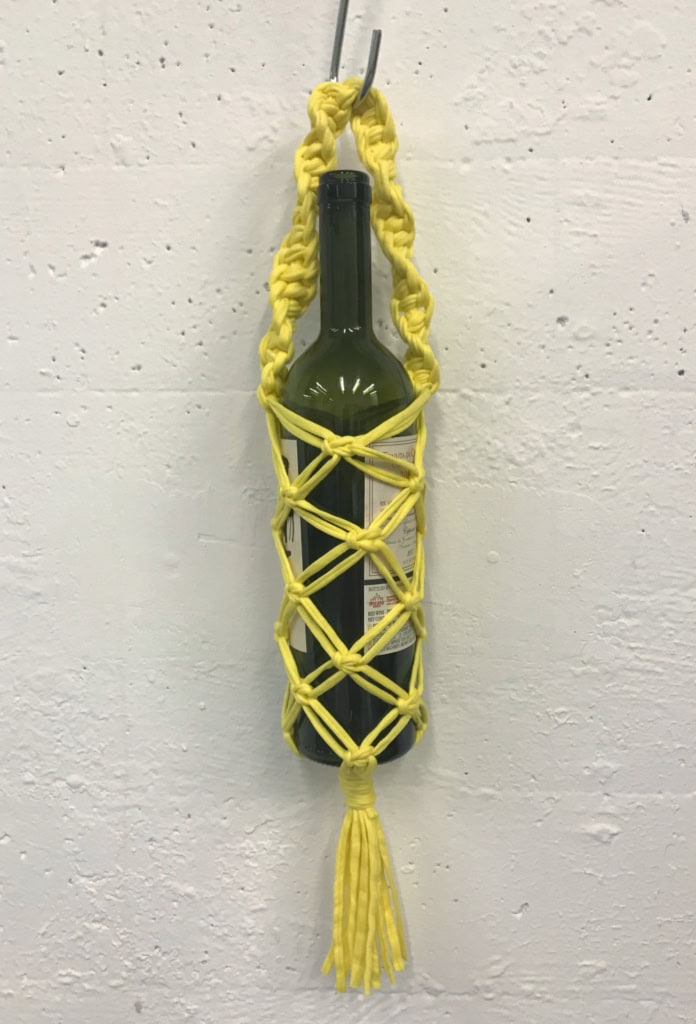
A bottle of wine is probably the most popular hostess gift ever. It’s convenient to buy and appreciated when gifted. But why not add a personal touch by making a macrame wine bag yourself? This macrame tutorial is easy to follow and made with t-shirt yarn. It’s also inexpensive and available in lots of whimsical colors.
(This post may contain affiliate links; as an Amazon associate I earn from qualifying purchases. See disclosure here.)
supplies needed:
- bottle of wine
- t-shirt yarn
- scissors & painter’s tape
preparation
Cut 8 pieces of yarn, each measuring 180″. Gather all the pieces together. Measuring 40″ from one end, fasten with a binder clip.
half square knot spiral
Weave below the binder clip, making a Half Square Knot Spiral. This will be the handle of the wine bag, so keep knotting until the handle measures 12″.
square knot
To create the body of the bag, place the handle over the top of a wine bottle (either empty or a full unopened one). Secure it with painter’s tape, so the ends of the handle fall at the spot when the bottle fully widens.
Using four strands of yarn (two from each side handle), tie a Square Knot, as shown in the photo below. This forms the rim of one side of the bag. Make another Square Knot in this same fashion on the other side of the bottle.
alternating square knots
No continue tying Alternating Square Knots, as shown below, to create the body of the bag. Keep rows and spacing even.
wrapped knot
Once your knots reach close to the bottom, remove the bottle. Cut one extra piece of yarn measuring approximately 25″-30″. Then gather the 8 strands just a few inches below the last row of knots and make a Wrapped Knot (using the extra yarn piece).
Trim the tassel about 4 inches below the Wrapped Knot.
Now you are ready to fill your bag with a chilled white Chardonnay or a dry Chianti and make a lasting impression on your party hostess. And because this bag is woven with t-shirt yarn, it can be thrown into the wash and reused.
*Adaptation for a longer handle: Cut the 8 pieces of yarn each 210 inches long rather than 180″. Weave the handle to measure about 16″ rather than 12″.
Now that you’ve got the hang of it, you’ll find these are quite easy and quick to make. Why not try them in a whole array of colors?
The biggest compliment is a little share – pin the photo below!


I love how much you share – thank you! I got a little crazy growing plants in water. I’m using tall cylindrical cases from $tree and this is perfect to use to hang them.
That sounds so clever! Glad you liked the tutorial.
Do you have a video.? I am messing up after handle. Not enough rope after the 40 in
Can this be made with other yarn…
yes, but I prefer the tshirt yarn as it has some elasticity to it.
How do you make the handle half square knots with 8 strands of cord?
Hi, refer to the Macrame page on my blog as it has tutorials for different knots. If you are making a knot that typically used 4 strands but want to make it thicker, you can use 8 strands by treating a pair of cords as just one. Hope this helps.
I am dying to make these – are my measurements correct though? You need about 400 metres of yarn??
Yes, that’s correct. It always amazes me how much yarn or cording is needed for macrame, but it’s correct. Good luck!
Love this! What a great gift idea!
Cute macrame project!
Thanks! And they are easy to make!
This macrame wine bag tutorial is great. I learned your tutorial that is very easy and short method. I am very thankful to you that you taought me very good tutorial. I want to say that you are a good teacher.
thanks so much Laura!
Such a cute wine tote, Thank You very much for sharing your knowledge