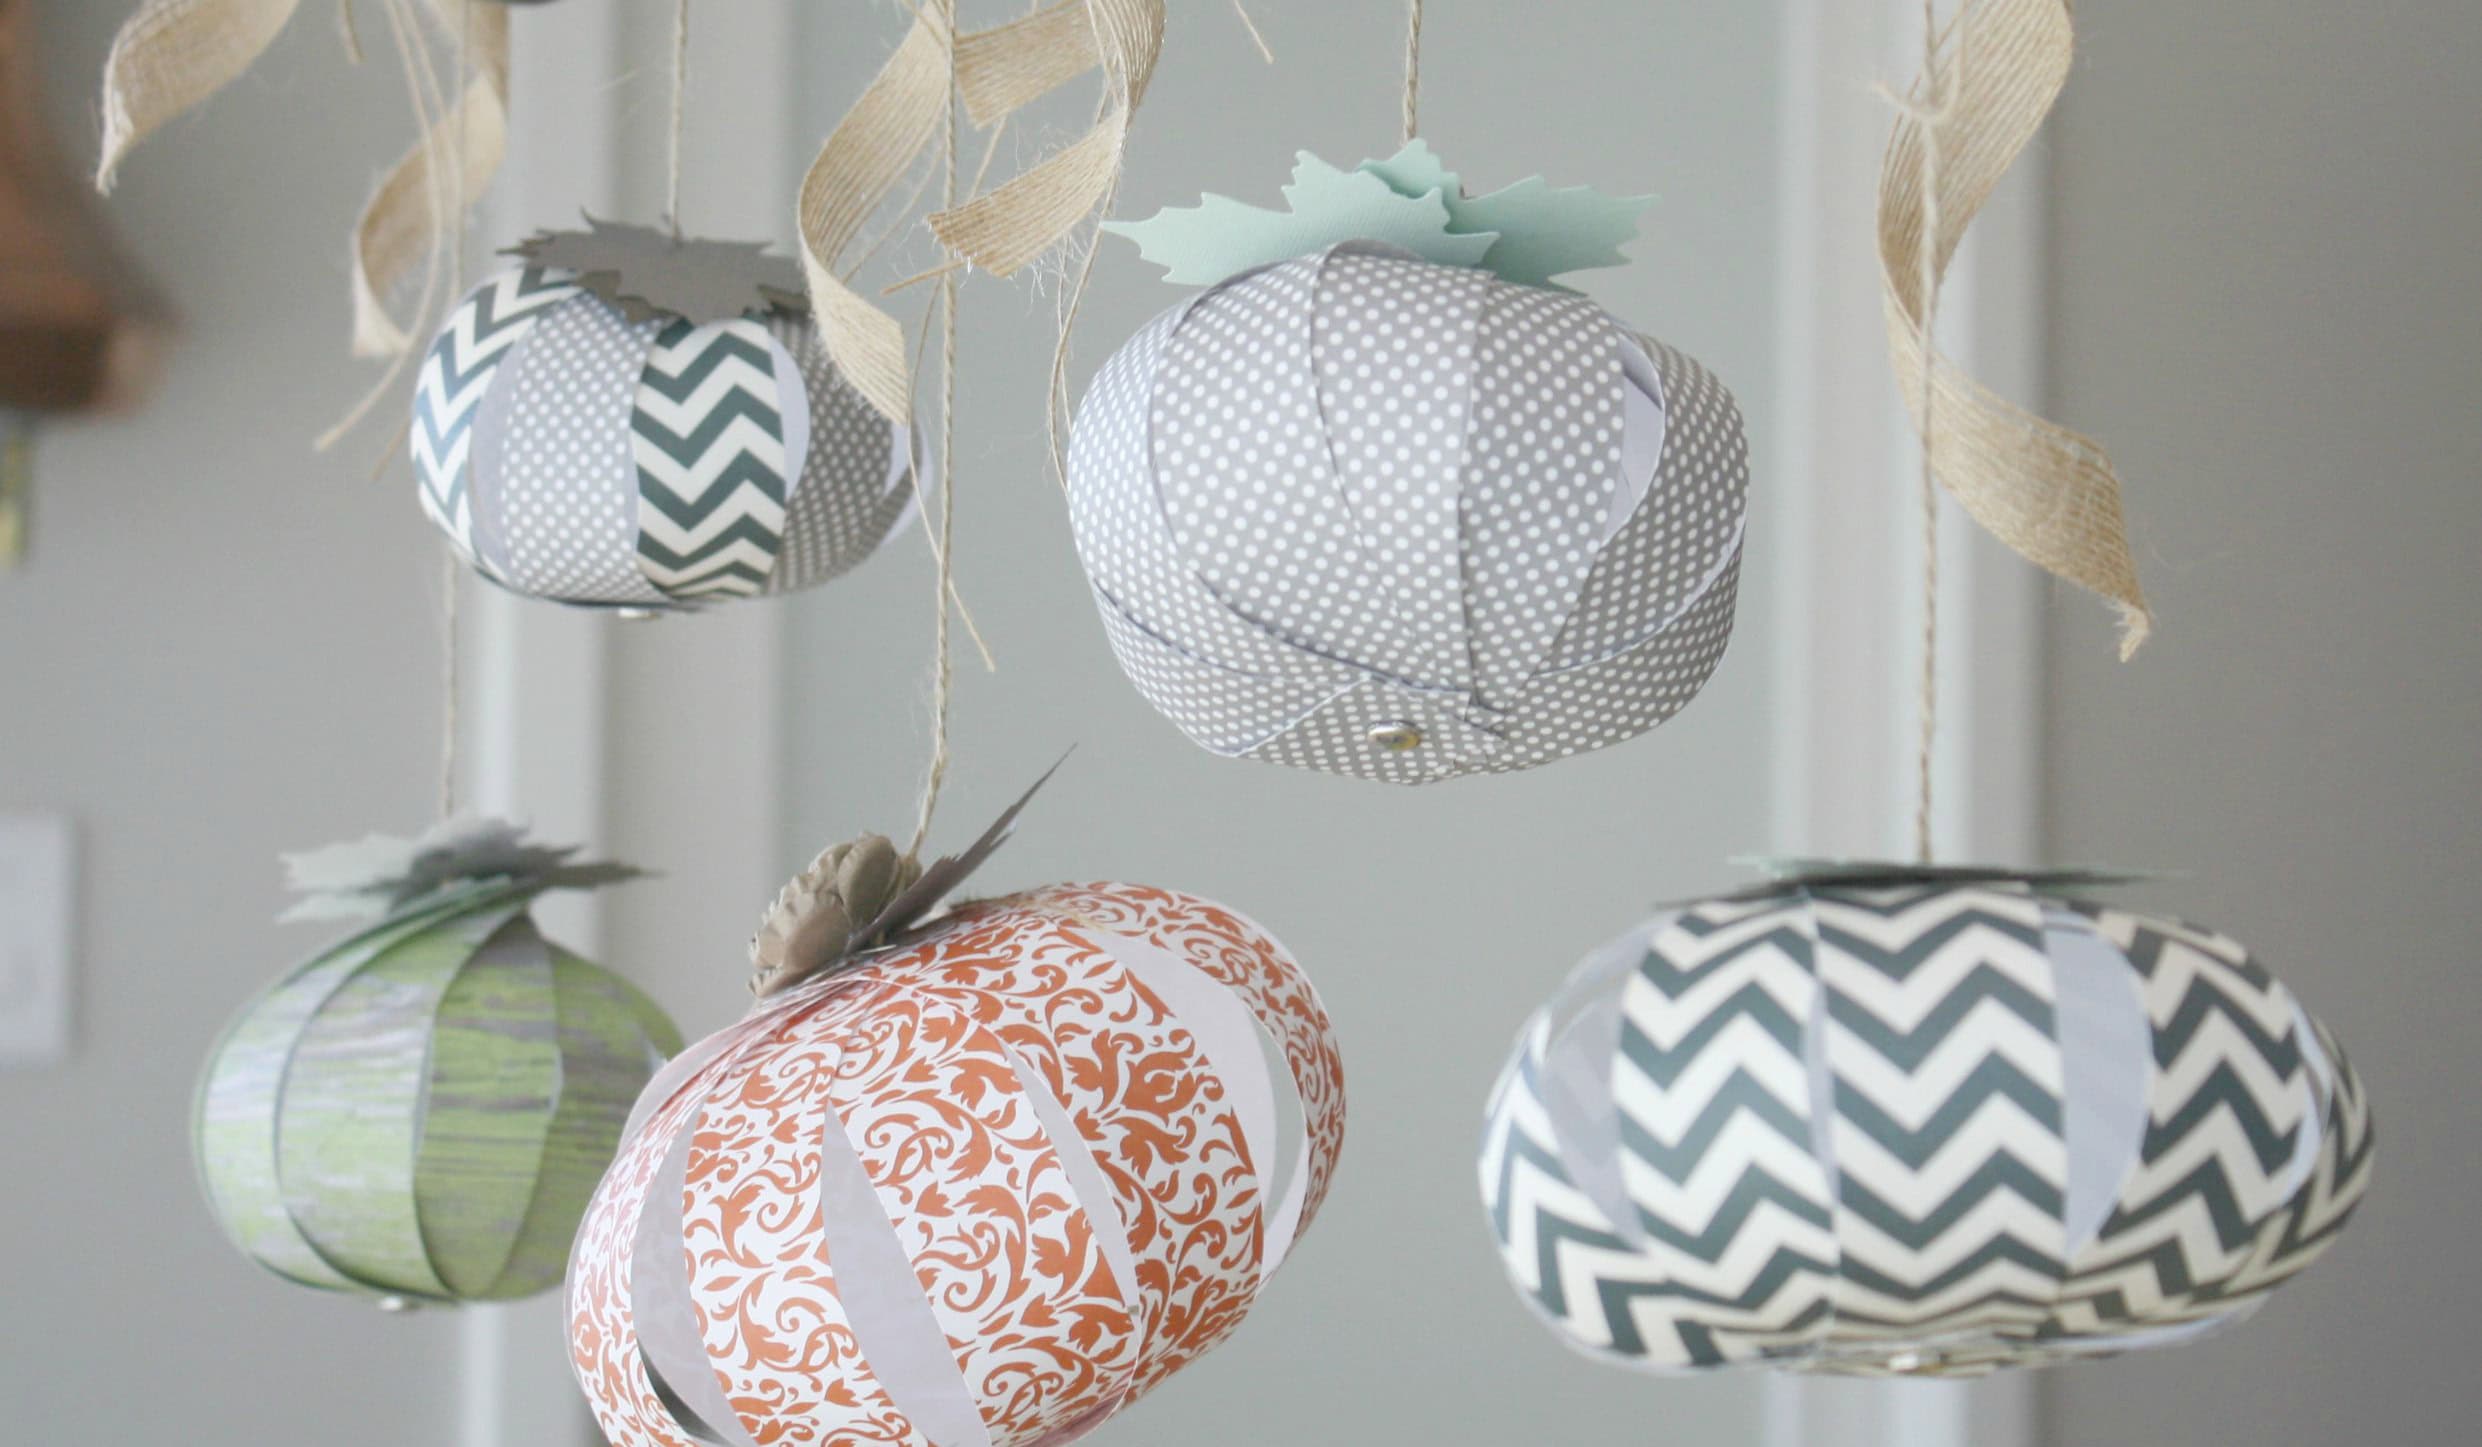
I’ve never been a big fan of wrapping my house in giant spider webs, but I have to say when those first crisp breezes of Fall begin to blow through my windows, I can’t wait to begin some serious seasonal decorating. And pumpkins. The only thing better than eating them is crafting with them.
I can’t make a trip to Hobby Lobby without coming home with more beautiful craft paper, even when I don’t have a specific project in mind. I loved these subtle Fall hues and textured patterns and just knew they had to become pumpkins. What size? How to make them? I didn’t have a clue. The patterns just spoke to me.
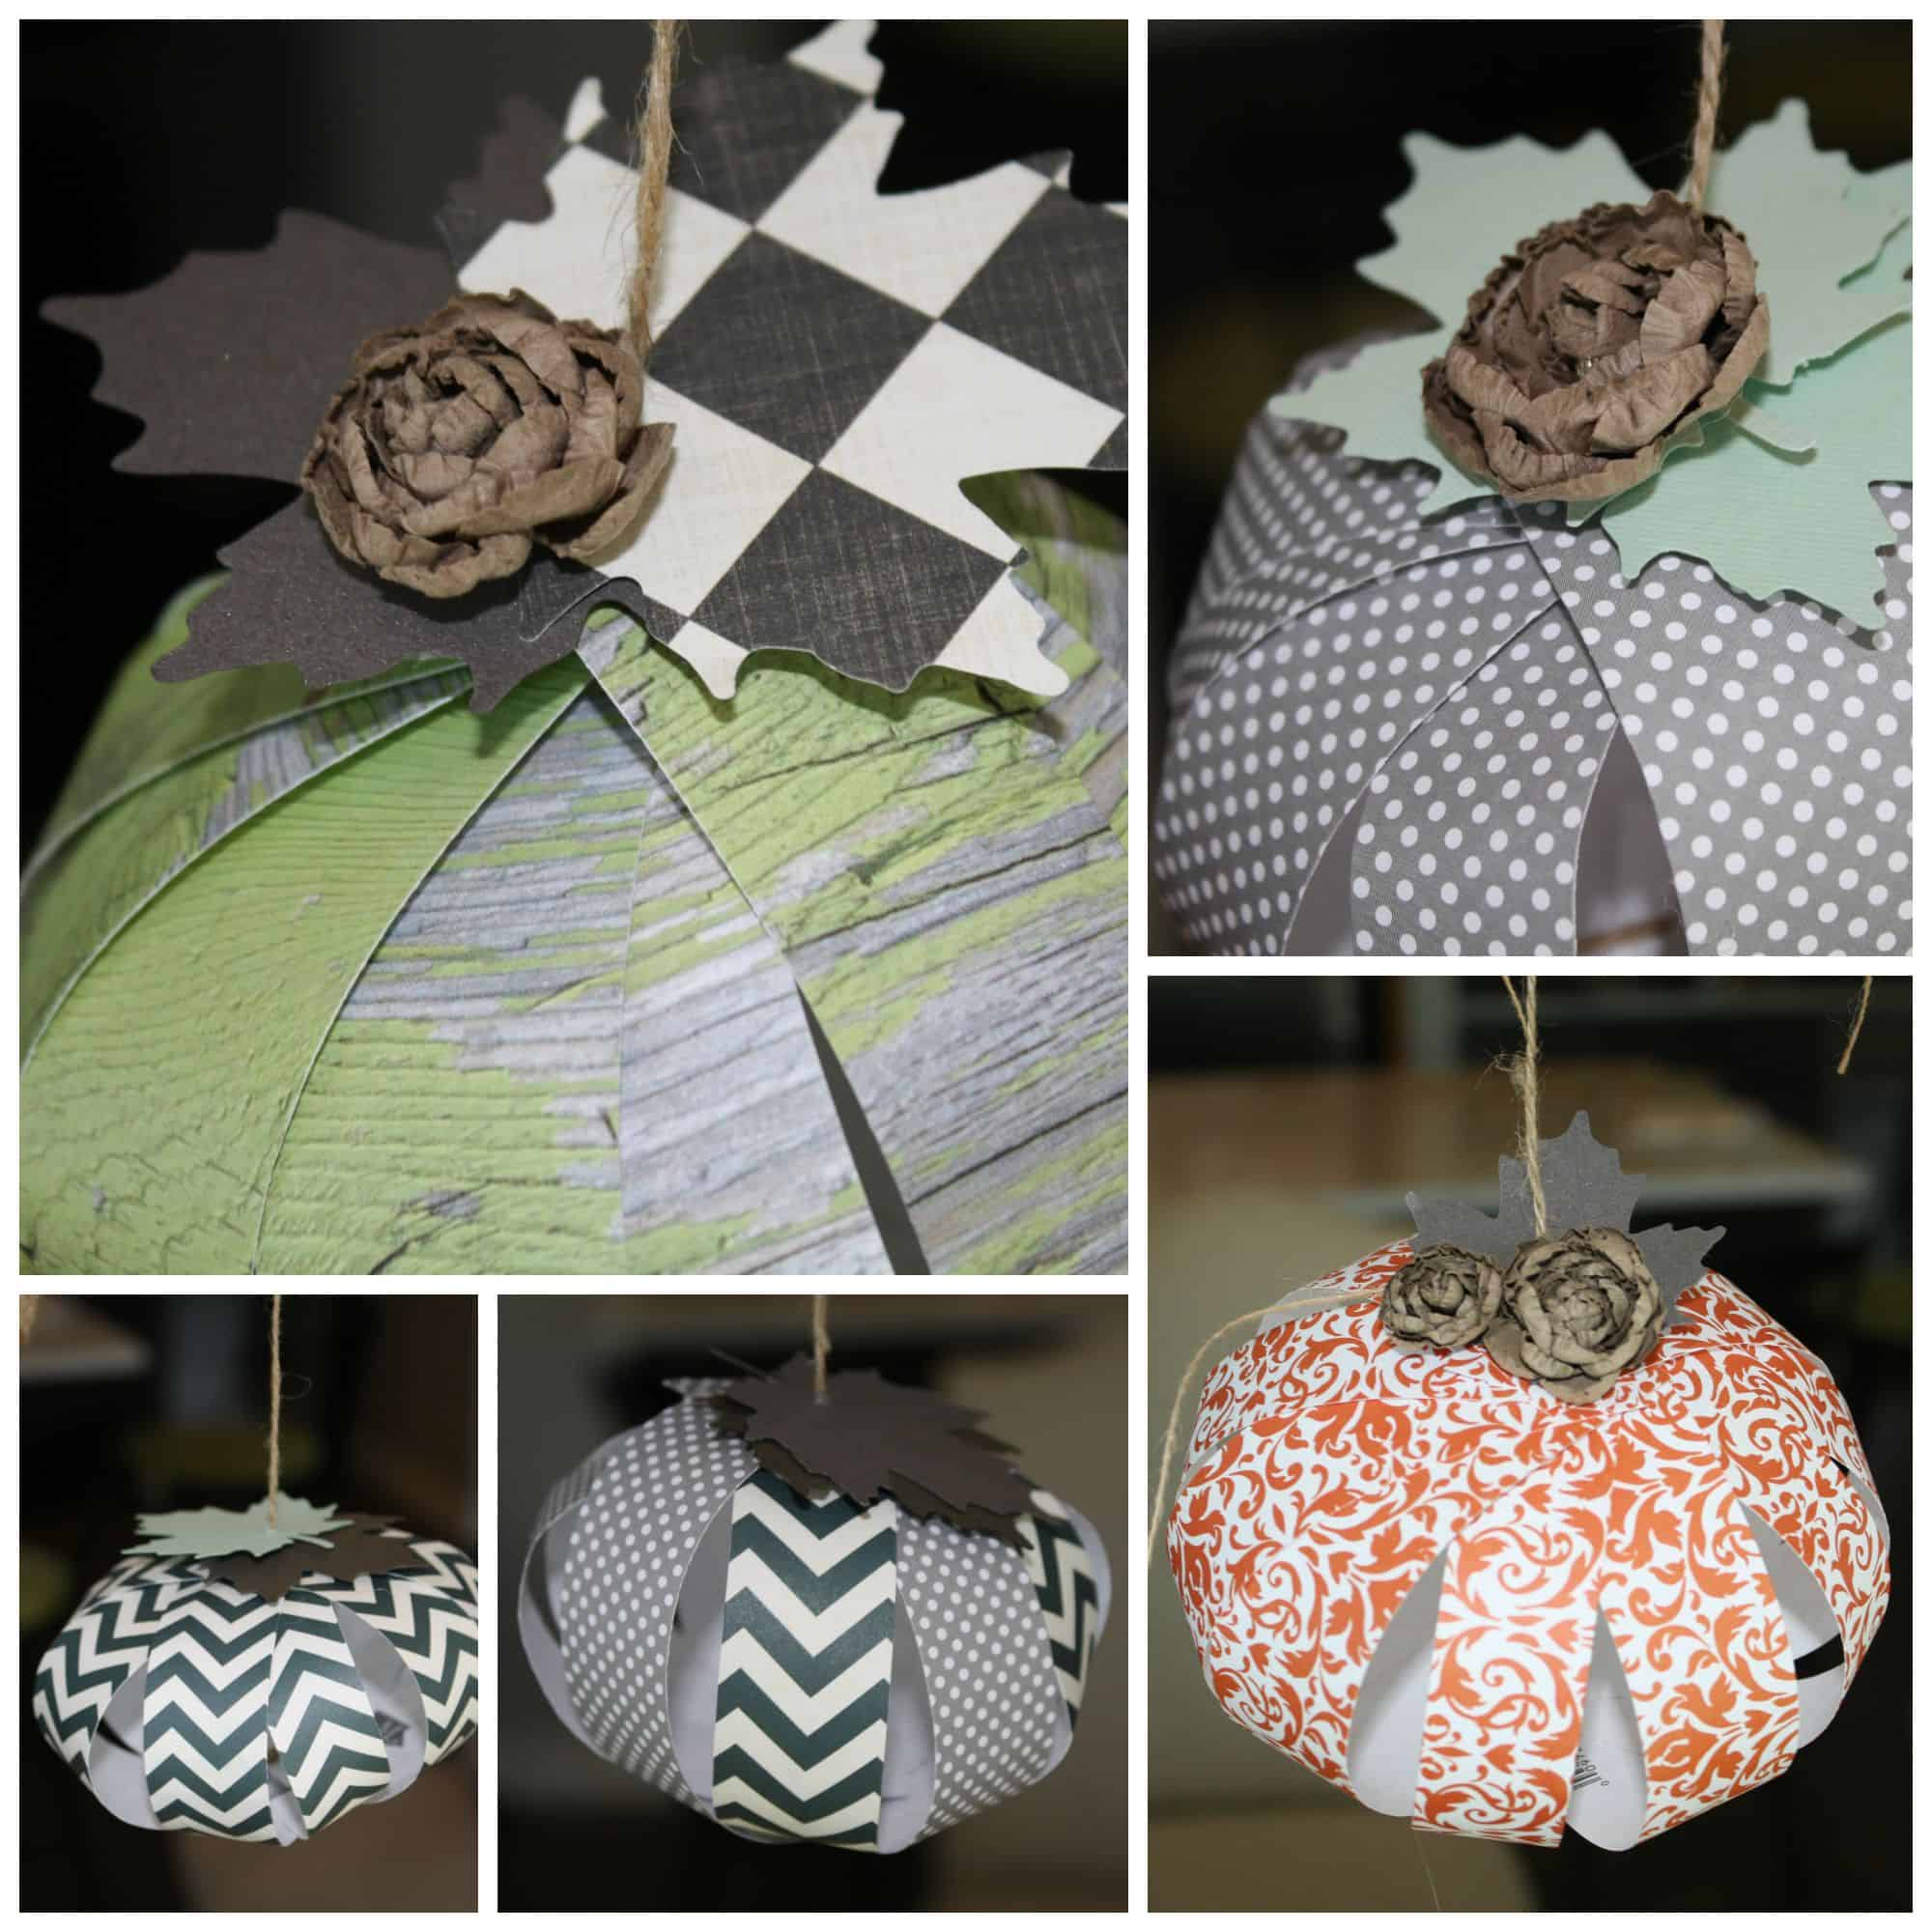
Eventually, I came up with a plan. Tiny paper pumpkins! With a ball of twine, some tiny silver brads, a hole punch, and my lovely paper, I went to work. Once I finished the pumpkins, I adorned them with paper leaves cut from a paper punch and some tiny paper flowers.
(This post may contain affiliate links; as an Amazon associate I earn from qualifying purchases. See disclosure here.)
supplies needed:
- craft paper
- hole punch
- twine
- brads
instructions
Using a paper cutter, cut five 2″ strips of paper from a 12″ x 12″ sheet. Then cut the strips in half.
Now, using a hole punch, make a hole in both ends of each paper strip. Cut a piece of thin twine about 24″ long. Knot one end of the twine, then thread the other end through each of the 10 paper strips at one end.
Insert a small brad through that same hole for reinforcement. Take the loose end of the twine and thread it through all the holes in the other end of the paper strips and tie a knot to secure it. The strips of paper should bow, creating a half-moon shape (shown below.) Do not cut the end of the twine, as you will need it for hanging.
Gently separate the strips of paper, fanning them out evenly to create a pumpkin shape.
You can also add embellishments if desired.
Now, where to hang them? Anywhere it makes you happy – from a chandelier, in front of a window, just about anywhere.
The biggest compliment is a little share – pin the photo below!


LOVE the soft colors and patterns you chose for these pumpkins, Wendy!
Don’t forget to join us over at the Creatively Crafty Linky Party every Wednesday through Sunday
https://creativelybeth.com/creative-crafts-linky-party/
Followed and Pinned!
Creatively, Beth
Lovely !!!!!!!!!!!!!!!!!!!!
Anna
I love these. Easy to make and with so many gorgeous papers out there, the possibilities are endless. Featuring when my party opens!
Thank you Carol!
Those are so cute! I love how simple yet pretty they are. I’m so happy to let you know that I’ll be featuring this post at Thursday Favorite Things today. 🙂
I love finding new ways to make pumpkins each year. I haven’t tried paper yet but you have inspired me to try. Thanks for sharing and this post will be a feature this week. #HomeMattersParty
Thanks!
So simple but so beautiful! I will definitely be trying this out
Great!
This website is really interesting, but why it is on 17th place
in google’s search results. It deserves to be in top 5.
Many webmasters think that seo is dead in 2016, but it’s not
true. There is sneaky method to reach google’s top 5 that not many
people know. Just search for: pandatsor’s tools
These are adorable! Love them!
Thank you!
These are so sweet and you make so many combinations with the beautiful craft papers. I love that you can hang them from your light. Thanks for linking up to Waste Not Wednesday Link Party!
You’re welcome, and thanks for stopping by!
I love these paper pumpkins! They turned out great. I hope you will share them with us at The Crafty Corner link party. 🙂
Thanks for stopping by. I just shared them to your link party.
Thank you! Adorable inspiration. I hope to see you at the next party again 🙂
Love these pumpkins and love the paper you have chosen. Have pinned them.
Thanks Claire! I think we have very similar tastes!
Totally love this!!!
thanks! sometimes the sweetest projects are the easiest to make!