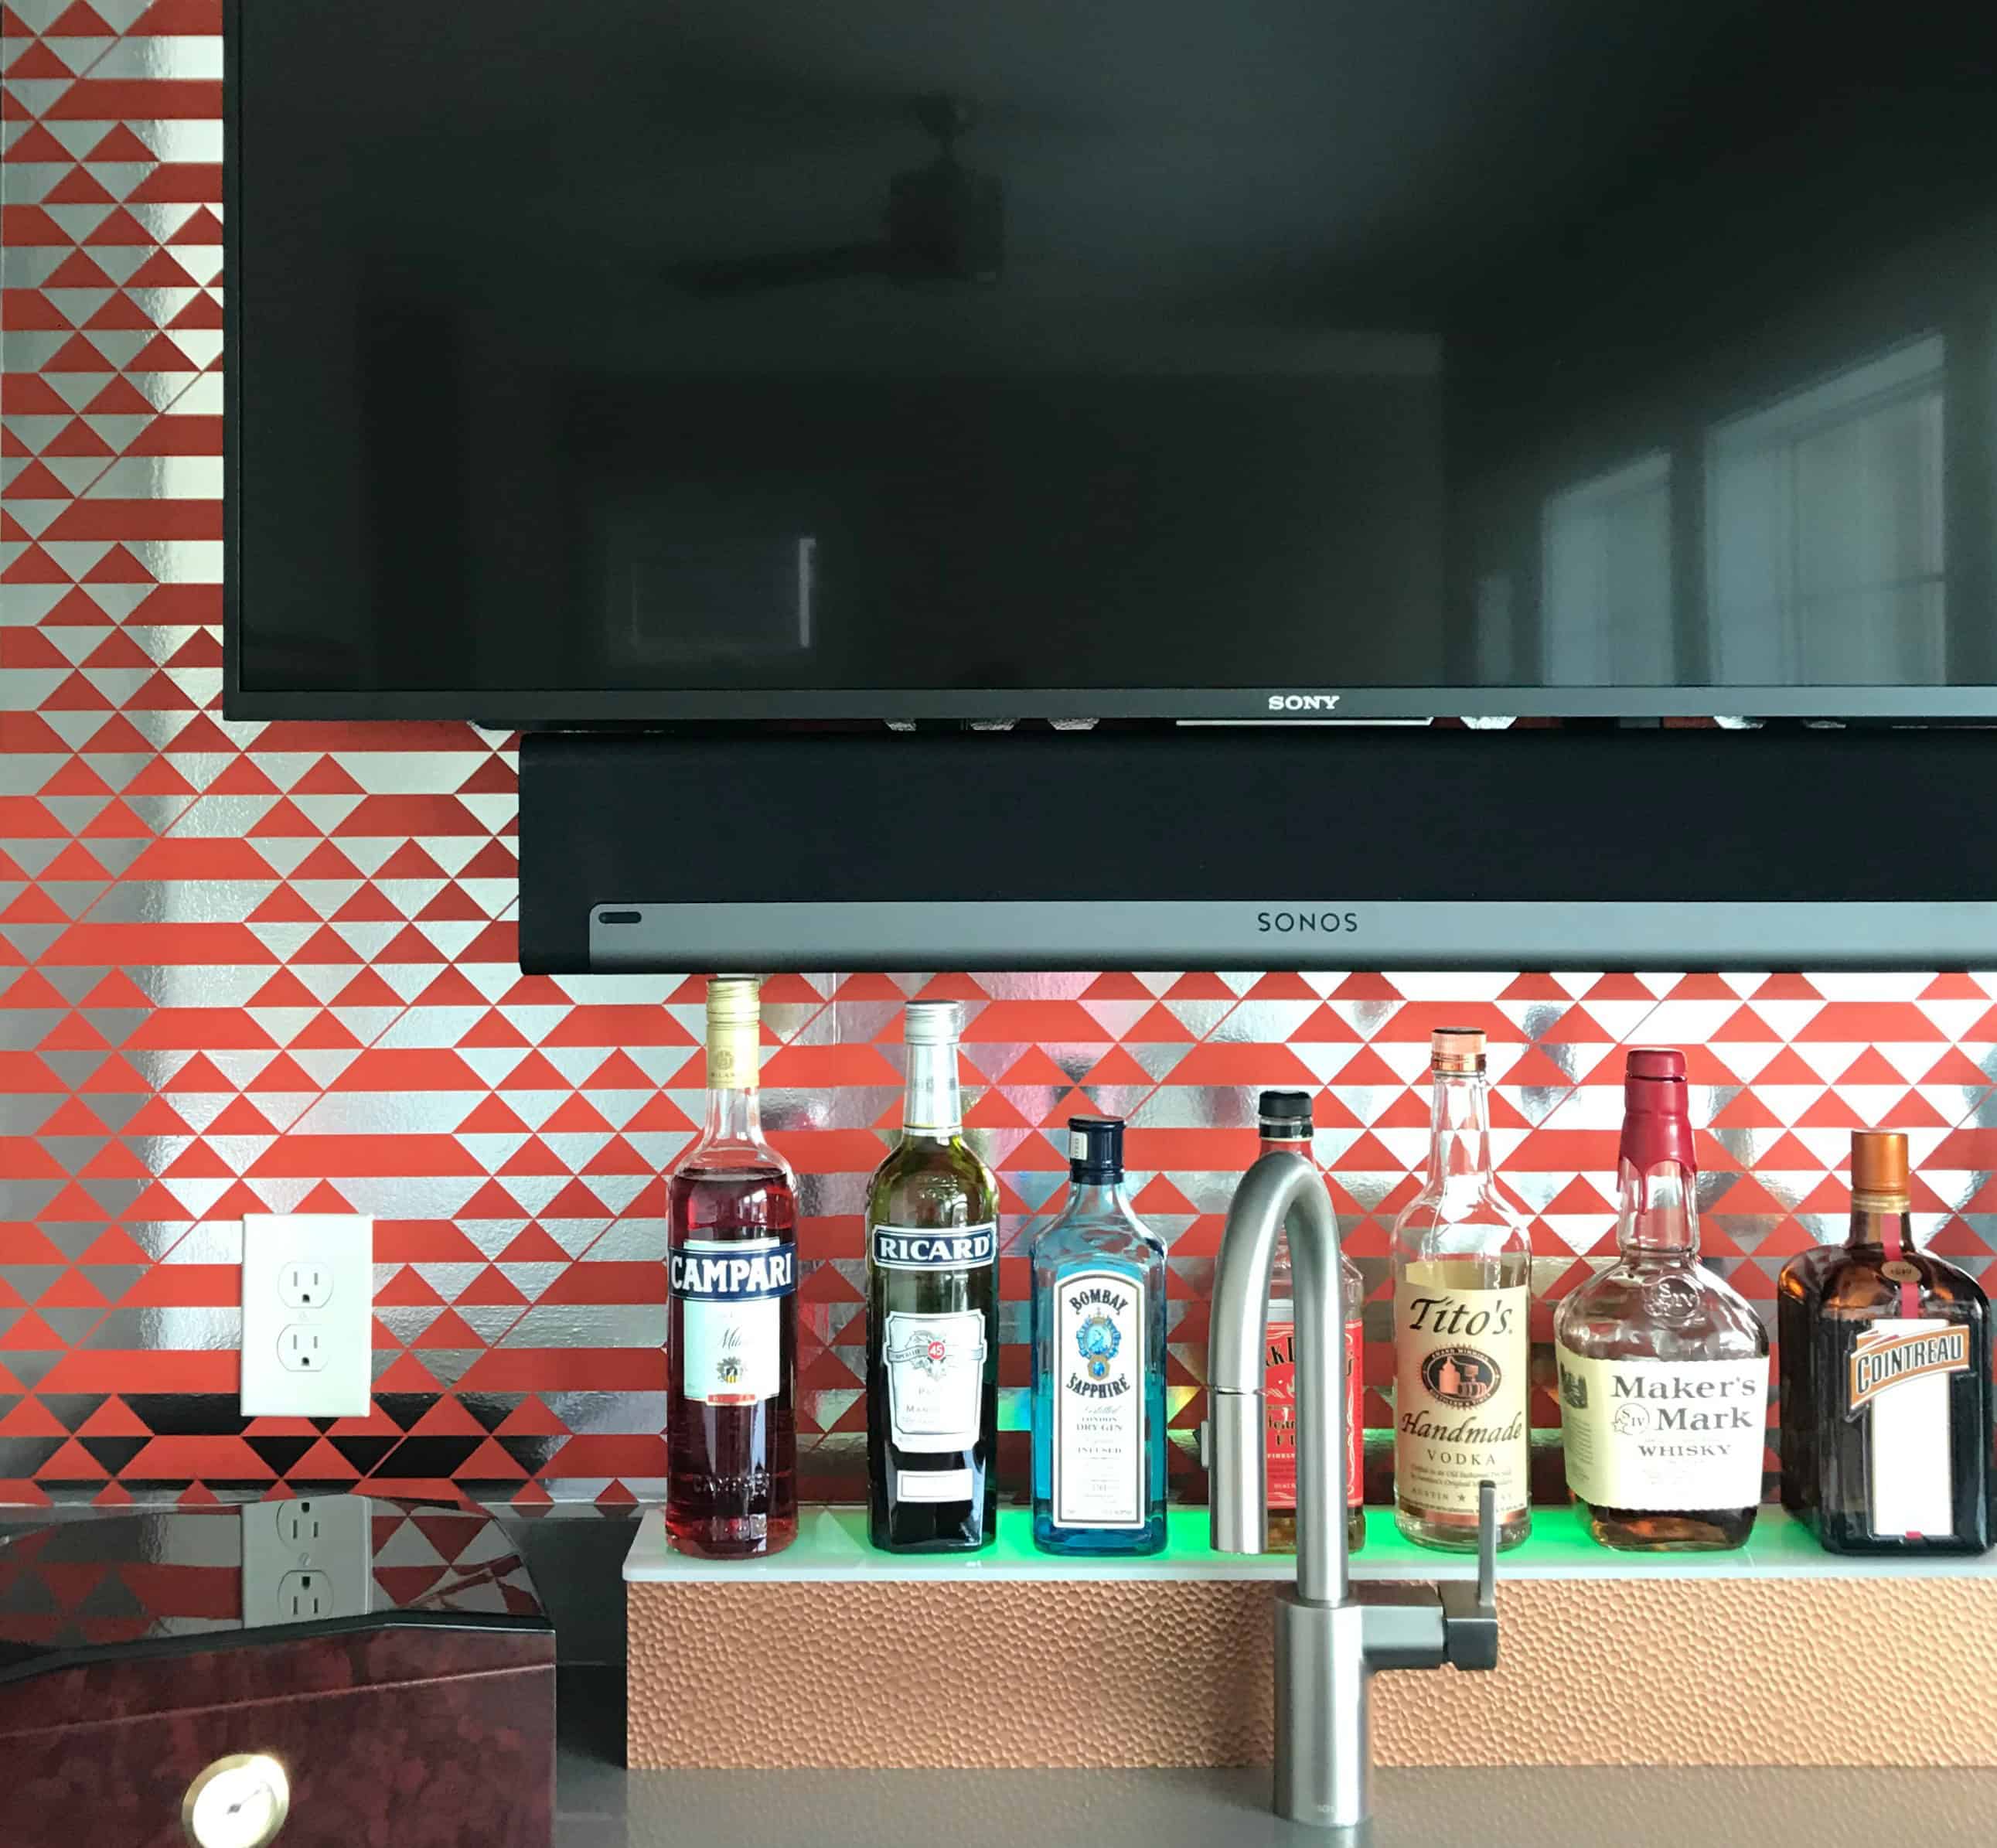
Wallpaper is one of those trends that comes and goes. Each time it does resurface, though, it has a fresh look. Currently, the new face of wallpaper is metallic. And let me tell you – that stuff is not easy to hang. Try pasting aluminum foil to your wall and expect no crinkles or wrinkles to show. Almost impossible. Almost. But heed the lessons I just learned when wallpapering a bar accent wall in my husband’s rec room, and you just might accomplish it. And the end result is totally worth the effort. Check out this metallic wallpapered accent wall.
(Affiliate links included for your convenience. As an Amazon associate I earn from qualifying purchases. See disclosure here.)
my tips for wallpaper hanging newbies
- If you can find a pattern you love that comes in the new self-adhesive (sometimes called “temporary walllpaper”) rolls, buy it. I looked everywhere for a design I wanted, but unfortunately my hubby-turned-decorator found one he liked that wasn’t self-adhesive. In addition, it came from England and was quite pricey, so the pressure on my paper-hanging skills began to mount.
- Read the manufacturer’s instructions. Sometimes, they suggest a method or step that you may not deem important, but at least you feel better educated when you decide on a strategy. For example, this company suggested hanging lining paper first. After tapping the brain of an paper-hanger professional (in a local Sherwin Williams store), I decided I could get by without doing that. Nonetheless, I felt more confident and knowledgeable about the process after analyzing the instructions.
- If you are a rookie, watch a few YouTube videos, such as this one. I’m convinced you can learn to do anything with YouTube.
- Always allow more paper than what you think you may need. I truly believed I could cover this 5×5 accent wall with only 2 columns of paper. After necessary adjusting and overlapping to match up patterns, I ended up with 4 columns! If you are familiar with matching fabric patterns in sewing, you will definitely have an advantage.
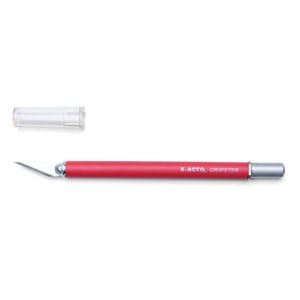
- Make sure your exacto knife has a sharp blade. When trimming the edges, this is important for a nice, clean cut, especially with metallic paper as it seems to be thicker than most.
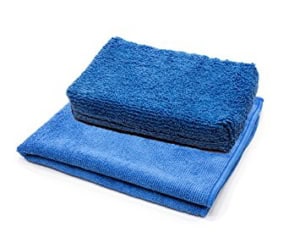
- Keep lots of clean rags or sponges handy for wiping away glue from the wallpaper front. Despite the ease in which YouTubers hang sheet after sheet of wallpaper, you will get glue on just about everything. No worries…if you have clean, wet rags handy and wipe frequently.
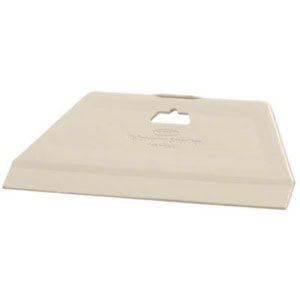
- Use lots of elbow grease when smoothing out the wrinkles with a plastic smoother. Paper hanging is not for the weak of heart or muscles. One thing I noticed was that even though I felt I could not get every single crinkle out (no matter how hard I pressed), the next day the wall looked wonderful. The paper seemed to “settle” overnight and many of the imperfections were gone the next day. Of course, I’m a perfectionist, so of course I zeroed in on even the smallest details.
the steps I followed
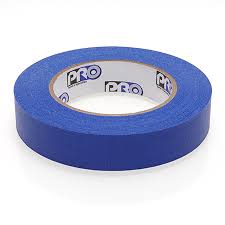
- I taped the edges around the accent wall with painters’ tape.
- I cut the first sheet of paper, allowing several extra inches at both the top and bottom.
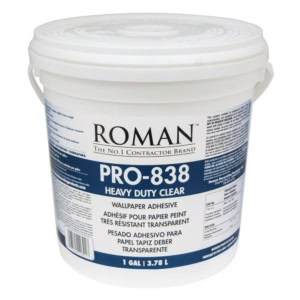
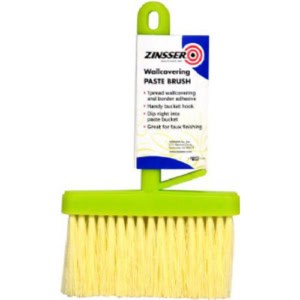
- I applied a thin layer of glue with a brush to the first section of wall.
- When hanging the first sheet, I used a level to make sure the side edge was straight.
- I pressed out the wrinkles as I went along, then wiped away excess glue from the paper, first with a damp sponge then with a dry cloth.
- Using an exacto knife, I cut trimmed away the excess paper from both the top and bottom.
- Using this same procedure, I applied the next column of paper. Depending on the complexity of the pattern, you may find that you need to overlap the edges a bit, so don’t forget to spread glue under everywhere the paper will hang.
- Continue this process until the wall is covered, then pour yourself a lovely glass of wine.
the tools I used
And here’s the finished project…
Enjoyed this post? Please share on Pinterest!

