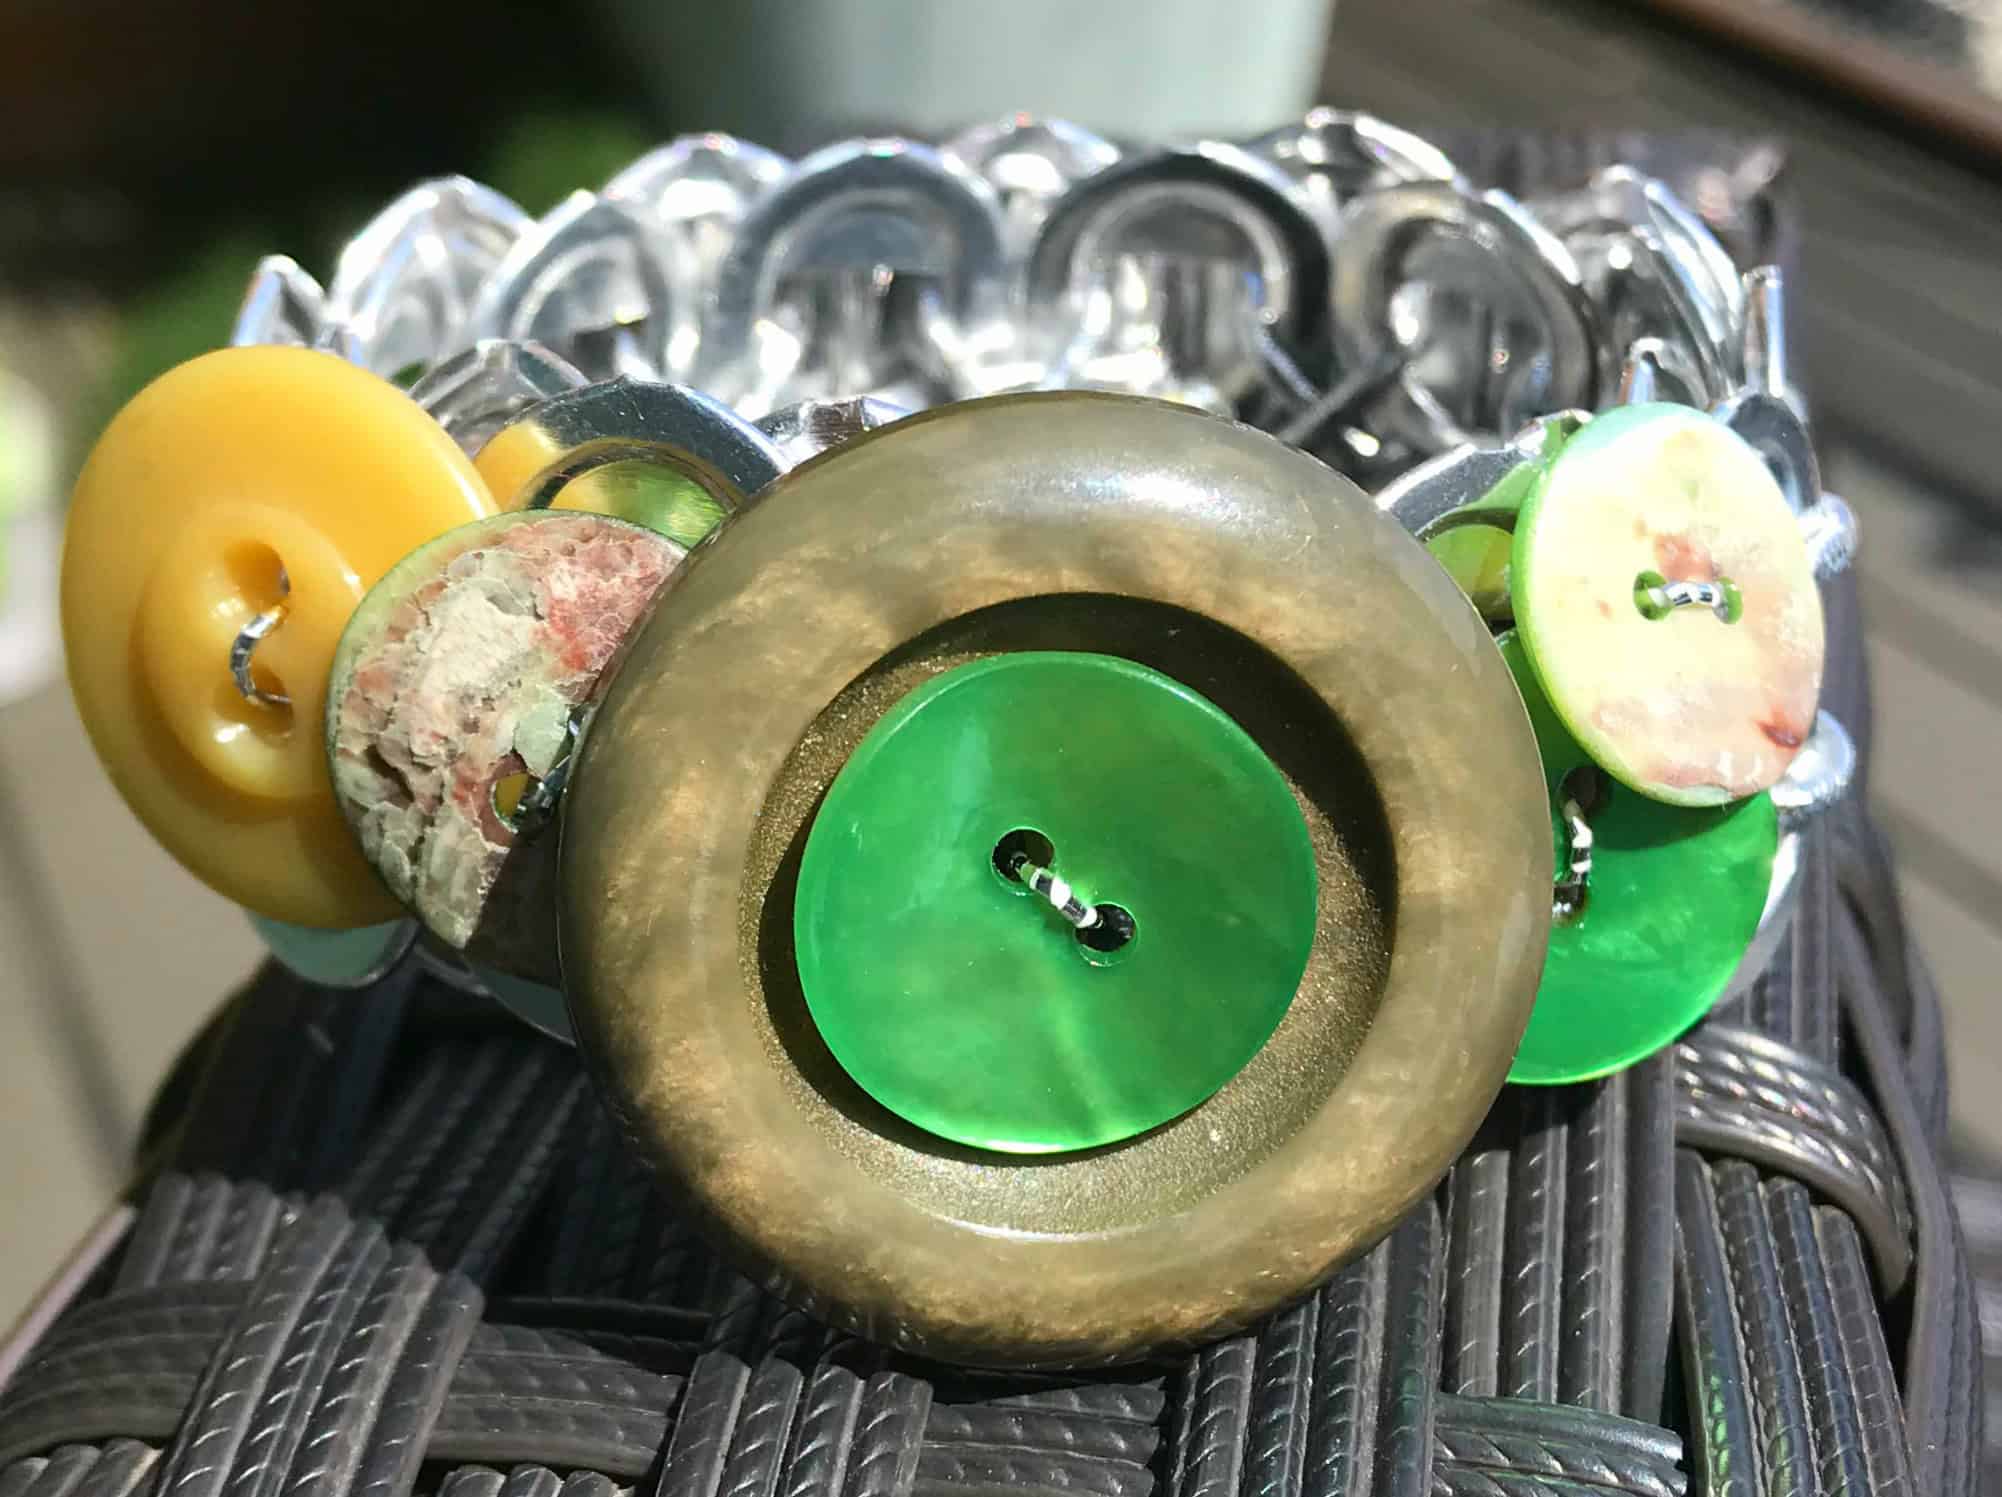
Earth Day is soon approaching, so here’s to you Mother Earth. This recycled pop top bracelet is for you! I recycled soda can tops into a bracelet. This may sound like a grade school art project, but surprisingly, the finished work is a funky, industrial fashion accessory as well as a great conversation piece!
(Affiliate links included for your convenience. As an Amazon associate I earn from qualifying purchases. See disclosure here.)
supplies needed
- 24 soda pop tabs (if you’re not up to saving them, you can always purchase some here)
- silver elastic cord – .5 mm and 1.5 mm
- binder clip
- buttons or beads for embellishment
notes
- The bracelet requires an even number of tops. I used 24 for this project. The bracelet fits a bit loose, but I have a small wrist.
- When stringing the tops together, make sure you add them in a consistent fashion, all positioned the same way and with the rough sides facing in (so the smooth side is next to your skin).
step one – weave the bracelet
- Cut two pieces of 1.5 mm elastic cord, about 18″ each. Secure the ends of the two pieces with the binder clip.
- Take the first two tops & overlap them (rough sides together). Pull the top & bottom cords through the tops as shown in photo below. Note: leave at least 6″ between the binder clip and the first pair of tops.
- Now flip the bracelet over to its back side, add another top (rough side facing inward), and thread the cords similar to the way you did for the first 2 tops – only criss-cross them, as shown in photo below. After each added top, make sure all the tops are snuggled close to each other.
- Next, flip bracelet over again. Add a fourth top and string the 2 cords through it in a parallel fashion (as before.) Seeing a trend? The tops on the bracelet front are connected with parallel cords, and those on the back are connected with criss-crossed cords.
- Continue adding more tops, flipping from back to front as you go and keeping the tabs snuggled close together.
- Once the last top is added, flip to back of bracelet and tie the cords together with 2 knots. Trim the ends.
step two – embellish
Now the fun part – embellish the bracelet with buttons, beads and any other baubles you want to add. I used a thinner silver elastic cord for attaching the buttons to the bracelet. Now you’ve got some funky, recycled costume jewelry. Good for you. Good for the planet.


