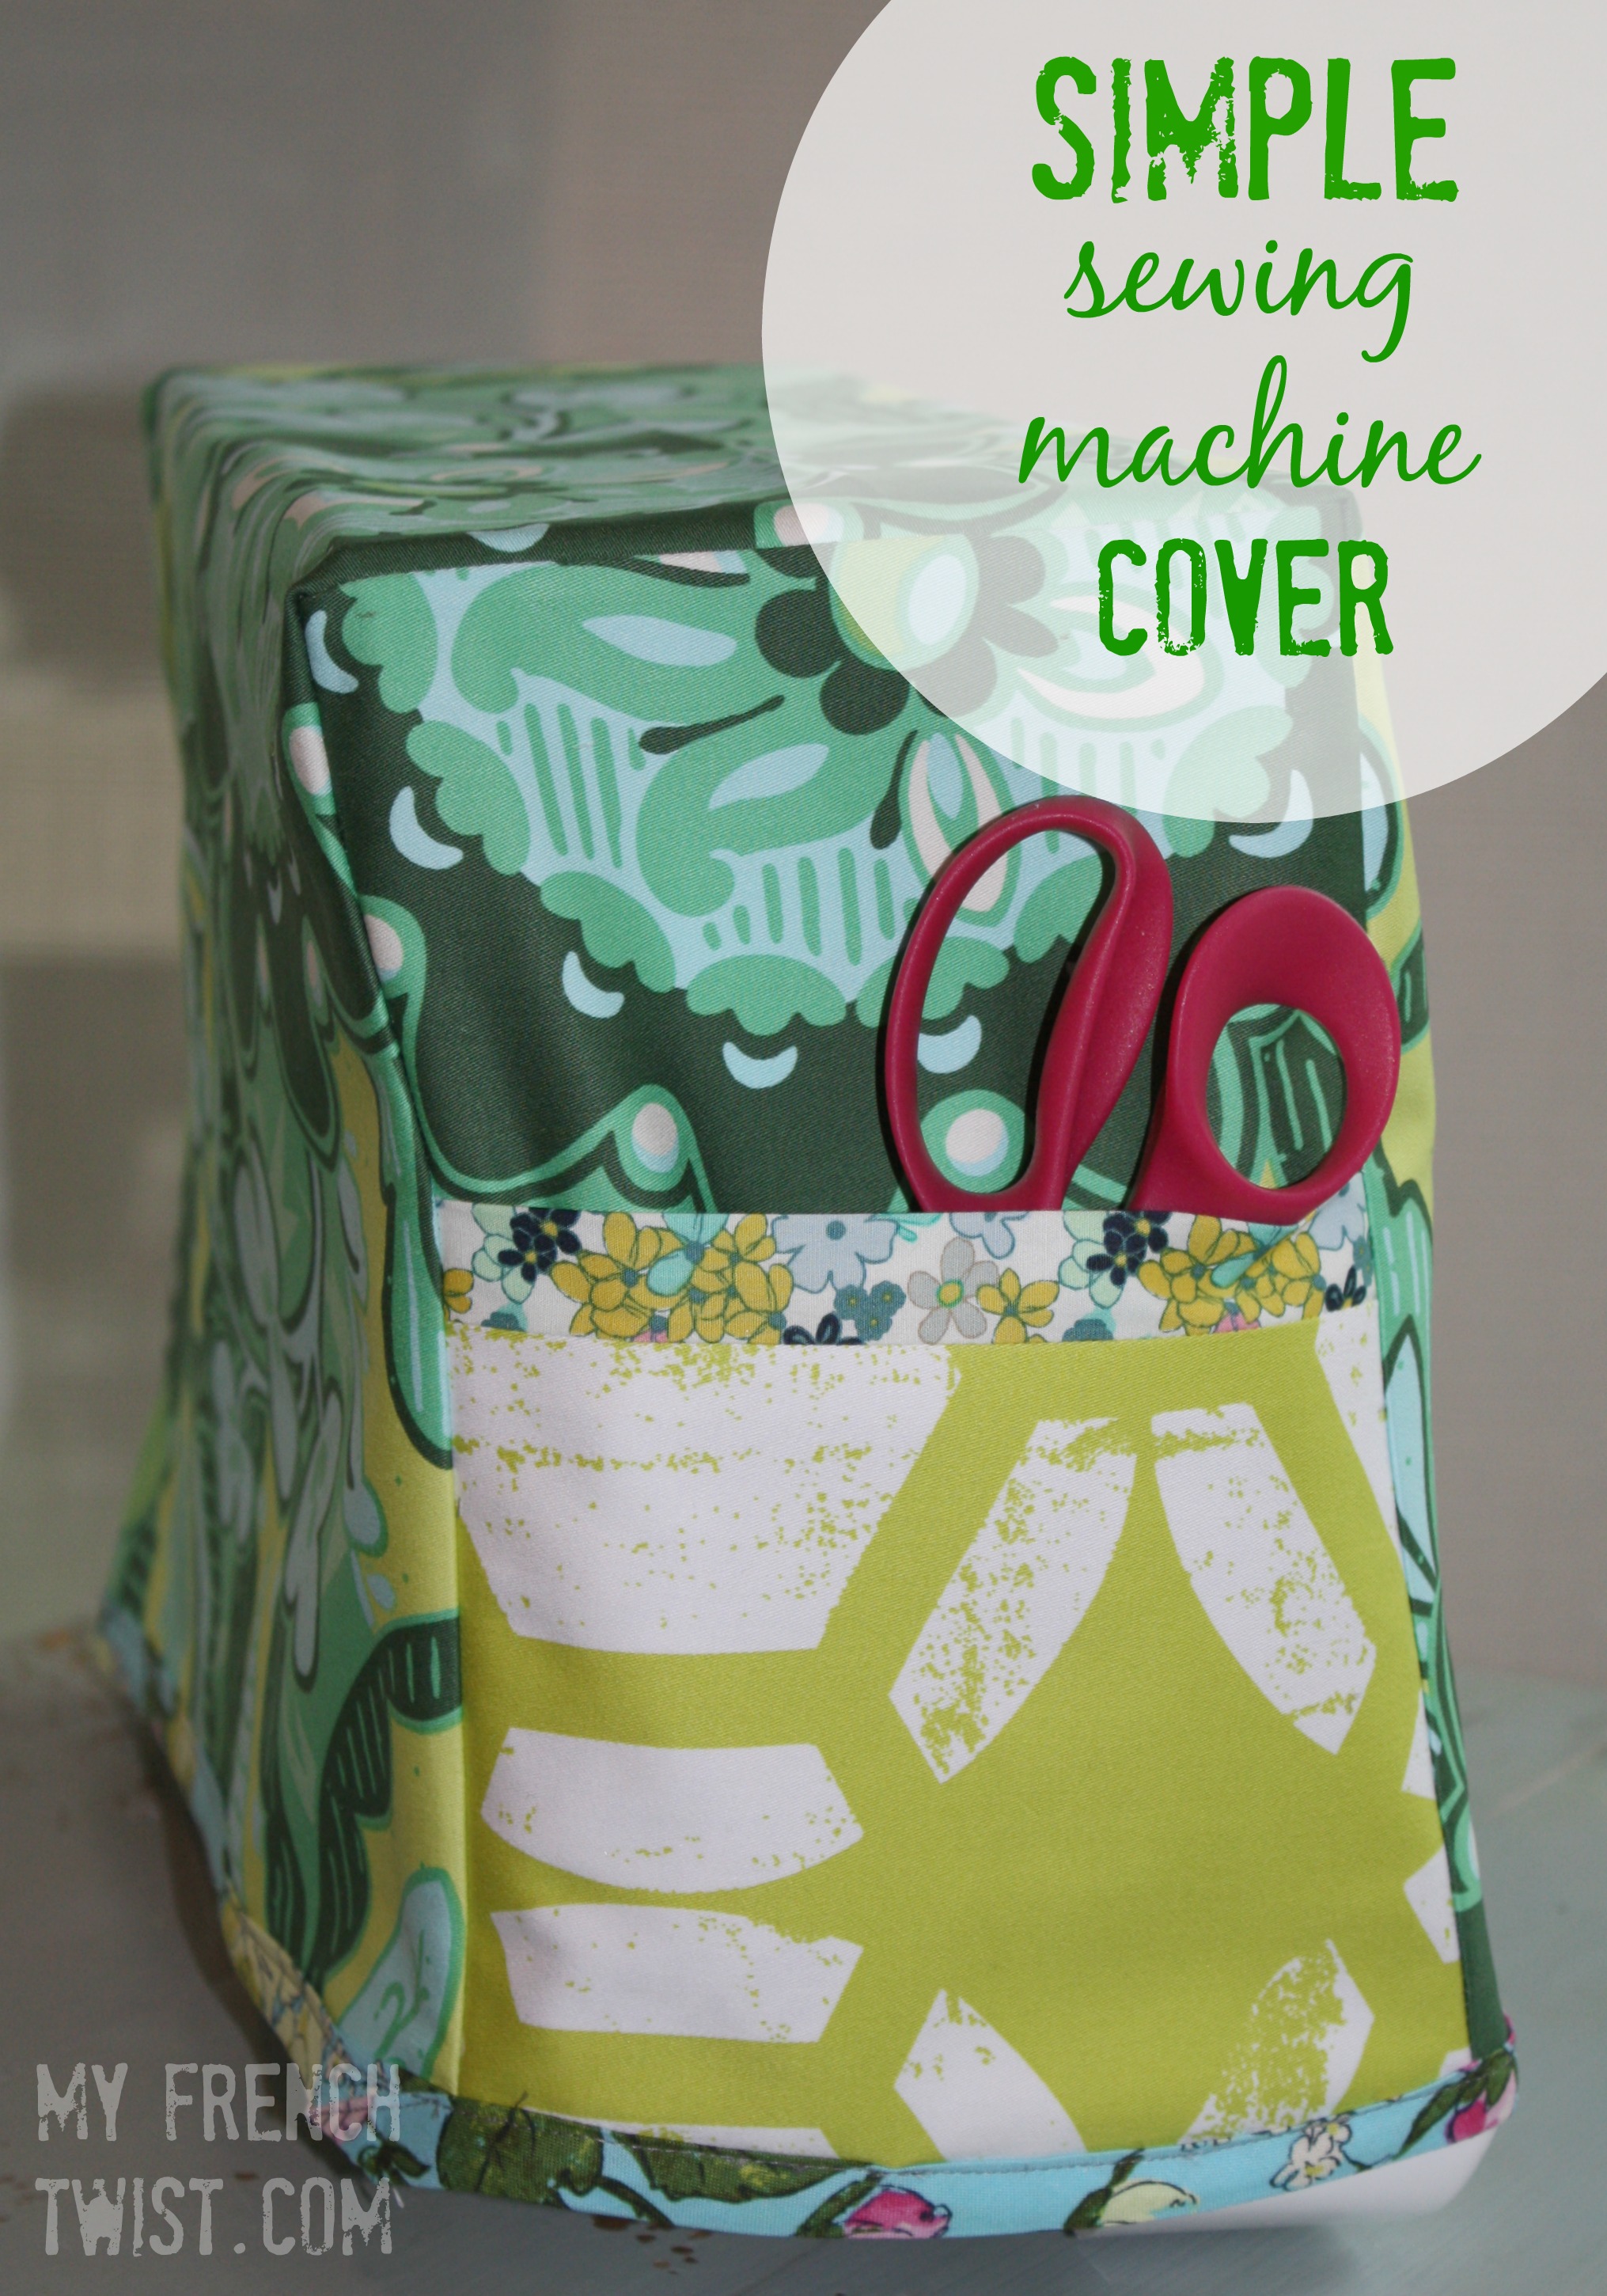
I’m in the process of setting up a sewing station in my condo. When my last son flies the coop, I’ll be able to convert his bedroom into a craft room, but for now my best option is to carve out a corner in my bedroom. I’ve got my eye on the perfect sewing table from Ikea, but I’ve also been wanting to make a cute cover for my machine. Lots of tutorials are floating around on Pinterest, but which one is for me?
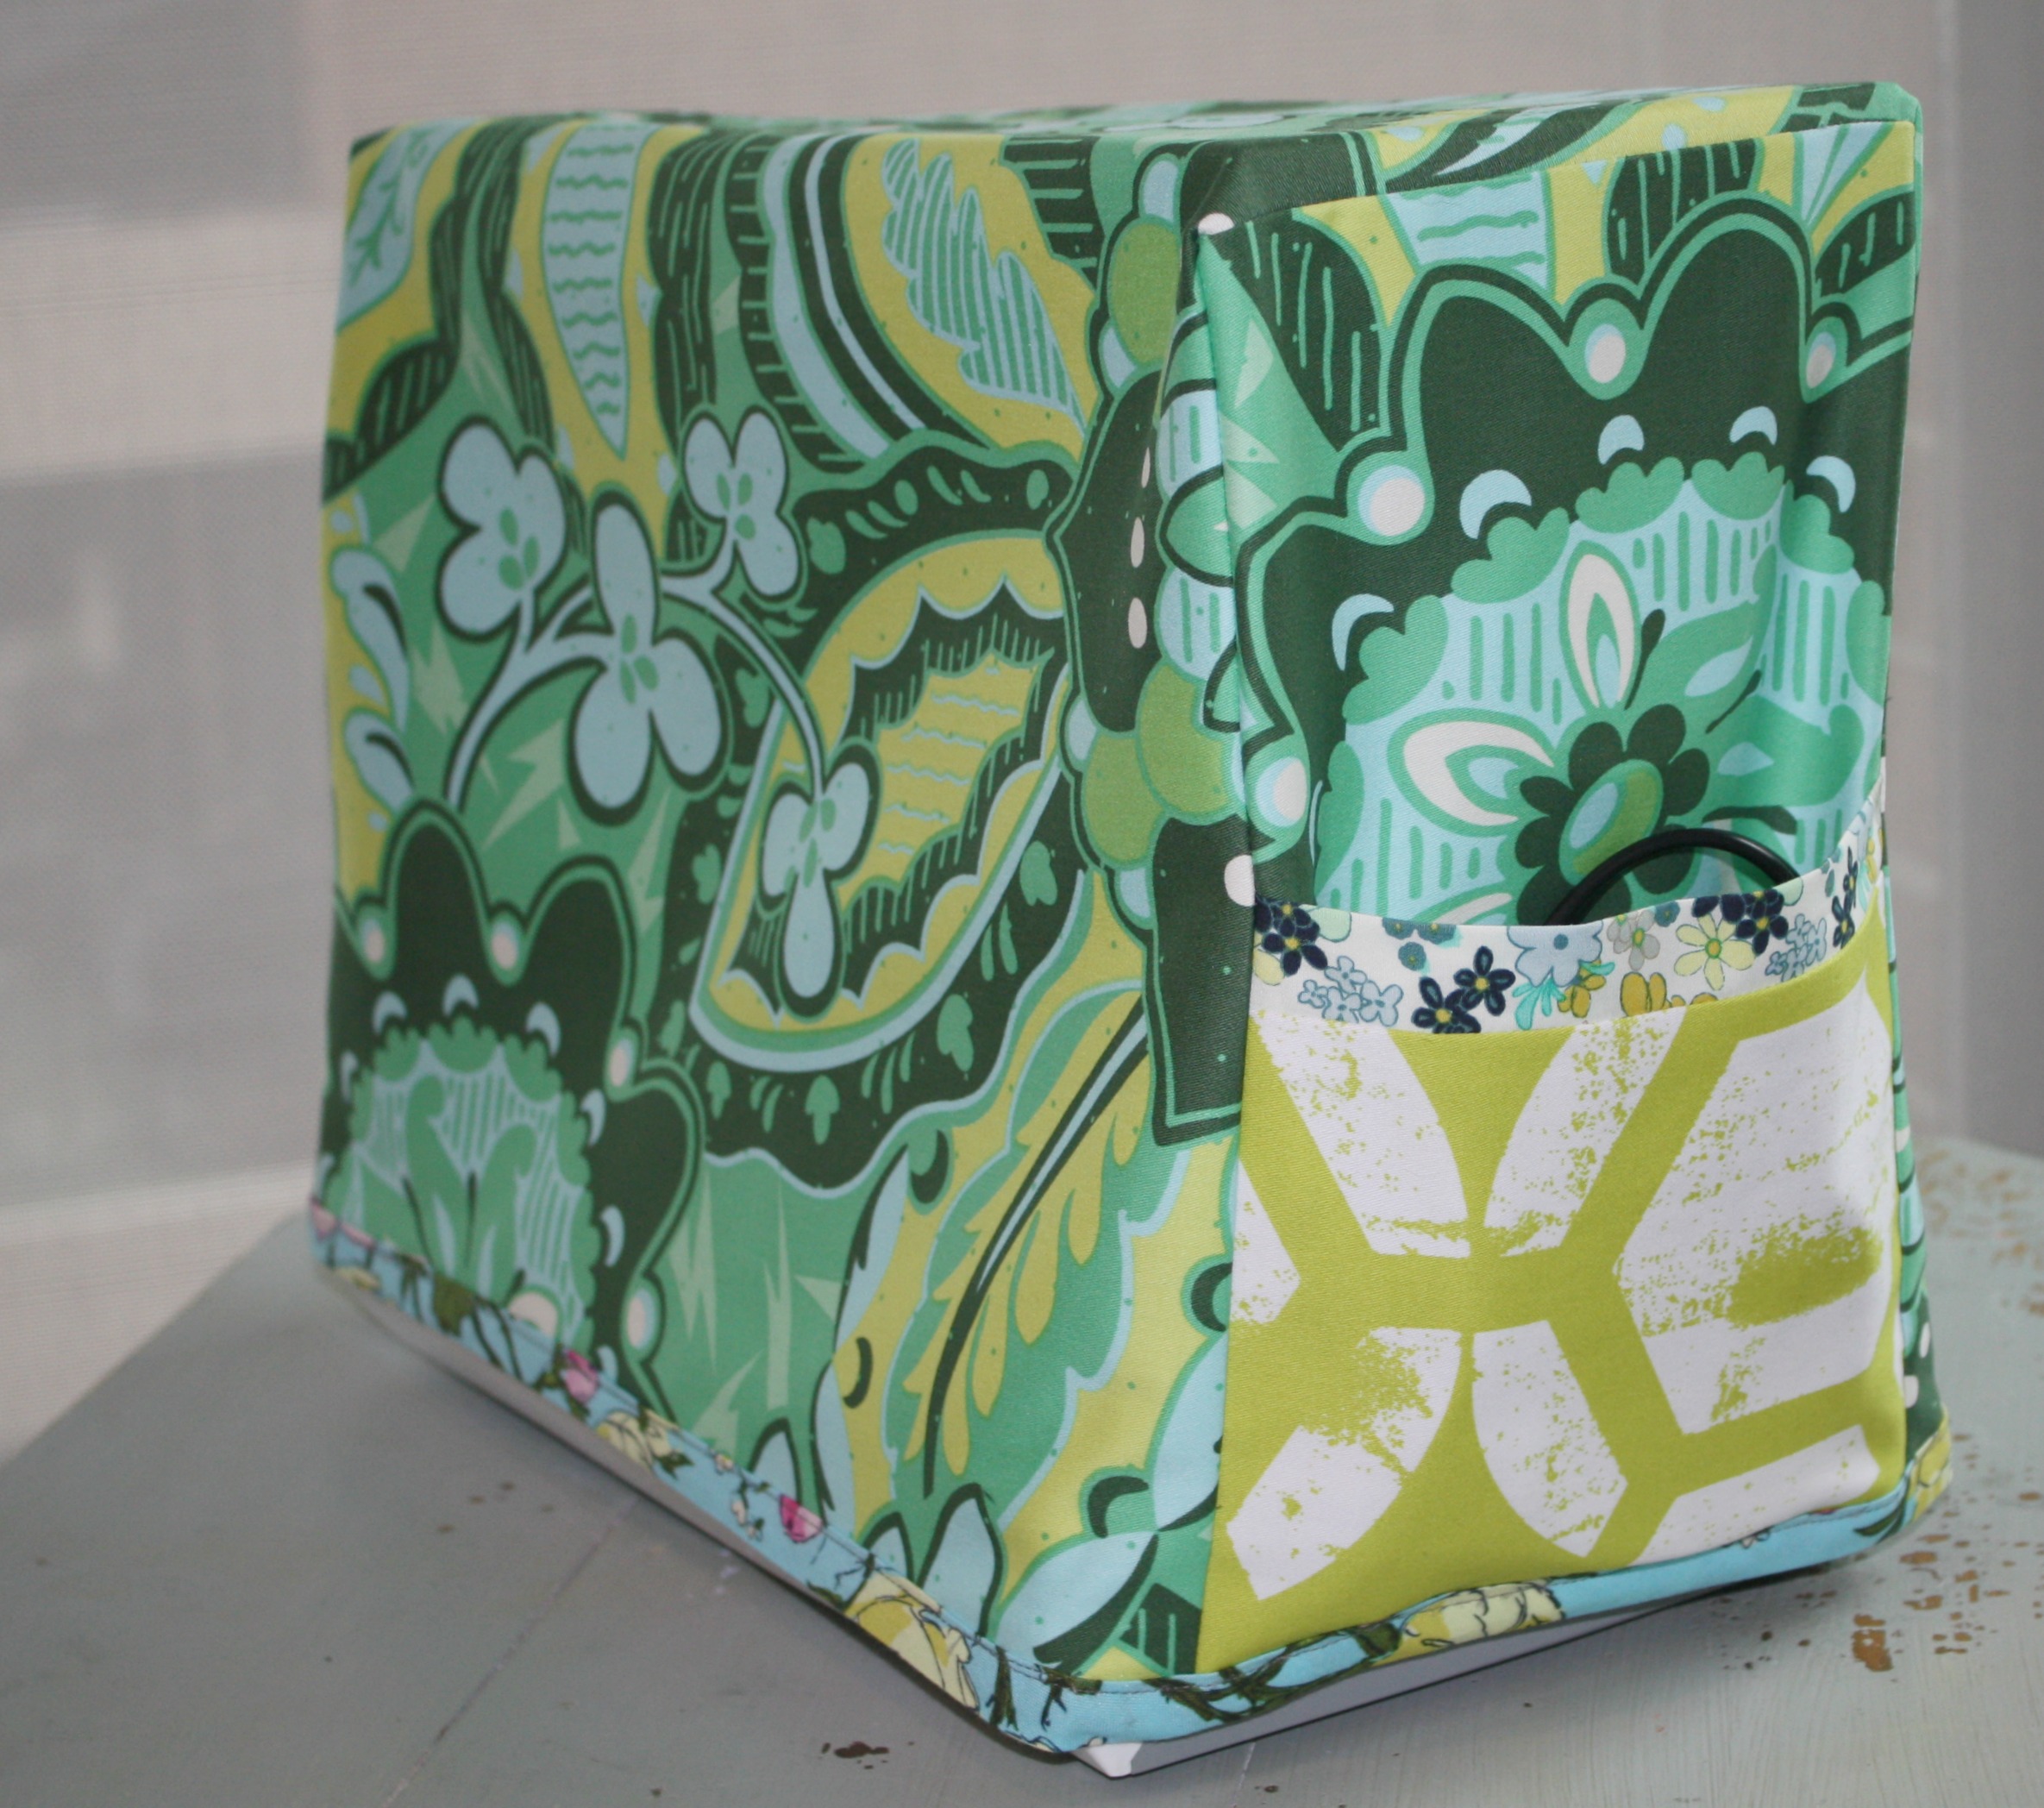
Well, this lazy girl kept it simple. In fact, I didn’t even follow a tutorial. I measured the width, height & depth of my machine, then cut 2 side pieces and 1 middle piece. I pinned them together, then placed them on the machine to adjust the snugness. At the last minute, I added pockets to each end. Stitched ’em up, and voila!
I also added some extra tailoring by cutting a shoe box lid in half, then extending it with an extra piece of cardboard to the length I needed. I taped it together with heavy duty packaging tape, then placed it inside the fabric cover.

So easy to do but it makes a world of difference! With this sweet machine cover, now my sewing corner is beginning to come together.


Wonderful experience gathered while I was going through your great article. Keep it up and best of luck at all times.
Best wishes from:
Guangduan
I have read so many articles and reviews on the topic. This one is really nice, keep it up.
I loved your post very much…Whatever you have represented is too useful…Great idea…Thank you too much……
splicing machine
Thanks for sharing your experience I hope I never have to go through anything like that. It would probably boggle my mind so much that it would randomly implode.
Great idea Wendy! Definitely makes your machine look cute while not using it…